

Food photography can be a challenge. I consider myself to be a fairly good photographer, but food photography has always been somewhat daunting to me. I love to cook, and always intended to put recipes on my blog. But I wanted to have beautiful and pinworthy photos like my favorite food bloggers, and my food photos were severely lacking. It’s only been in recent months that I’ve felt comfortable enough to start posting recipes on a regular basis.
What changed? I started to pay more attention as to why certain food photos were more appealing to me. I came to the realization that I needed to cook earlier in the day so I could take advantage of natural light. That was a big part of my problem right there. I still have a long ways to go, but my food photography has improved by leaps and bounds.
Big beautiful photos are important to your blog, and especially your recipe posts. They drive social engagement. You might have the most amazing recipe in the world, but if you don’t have a great photo to accompany it, no one is going to share it. Kiss those pins on Pinterest goodbye.
The good news is, improving your food photography is easier than it might seem. Today, I’ve gathered some of my favorite food bloggers and asked them to share their food photography secrets with you, and I’m even adding in a few of my own. You’ll find great tips on lighting, staging, camera settings, and editing…all of which are very do-able. Whether you’re looking to increase engagement (and pins!) on your blog, or want to create a gorgeous family cookbook, the tips here WILL help you improve your food photography and wow your audience!
*Please note: If you want to check out any of the recipes pictured here, just click on the photo!
Food Photography Tips and Tricks
Foodie Crush
Heidi Larsen of Foodie Crush is one of my favorite food bloggers. I’m not embarrassed to admit I stalk her blog. I’ve made several of her recipes and probably pinned half her website. Her Avocado Cream and Chicken Suiza Enchiladas are a frequent request in my house! She offered these tips:
Make it un-fussy. One of the hardest things I find when styling and photographing food is over-styling the image and making it too “precious”. I find I’m most attracted to photos by others that look approachable, even a little messy. So that I want to dig my fork right into that photograph. However, that’s often easier said than done. That’s why when I’m styling a shot, I take a few photos with everything in the pic, then I follow the same advice fashionistas do, “When you’re done accessorizing, take at least one thing away,” remove and simplify and take a few more. Those are usually the ones I end up using.
Shadows are good and lighter isn’t always better. Consistently there’s one thing I see that shows the difference between a pro photographer’s work and a novice food blogger’s. Lighting. It’s counterintuitive, but more light on the subject can flatten it, make it one dimensional. Shadows add depth and dimension to the photo, giving the eye a highlighted area (lighter) to focus on, rather than one dimensioned light so you don’t know where to look. I always shoot in natural light so I’ll set my dish near a window (not too close or it will be overexposed in the lighter areas) and on the other side of the dish, I’ll set a piece of black foam core board to add dimension. It’s amazing the difference it created for the overall mood of the photo.
Every image can use a little post production. I don’t think I have ever, Ever, EVER posted an image straight out of the camera. Taking the time to make a few adjustments to your exposure, clarity and sharpening can take a “meh” image to “Oh my YES!” Lightroom is my go-to and has several auto presets in the develop module I use as my first set of corrections. Punch is one I use most often.
[Tweet “Take photos that make you want to dig your fork right in! Here’s how, via @foodiecrush #foodphotography”]
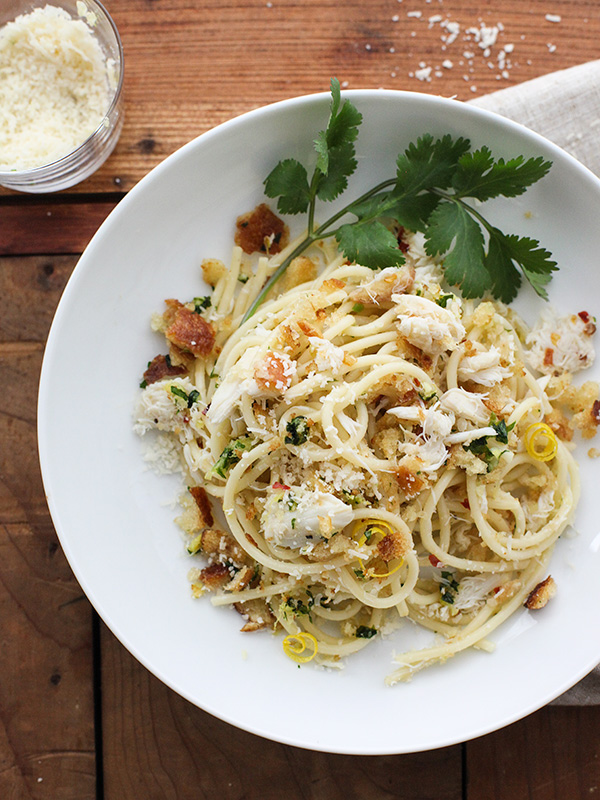
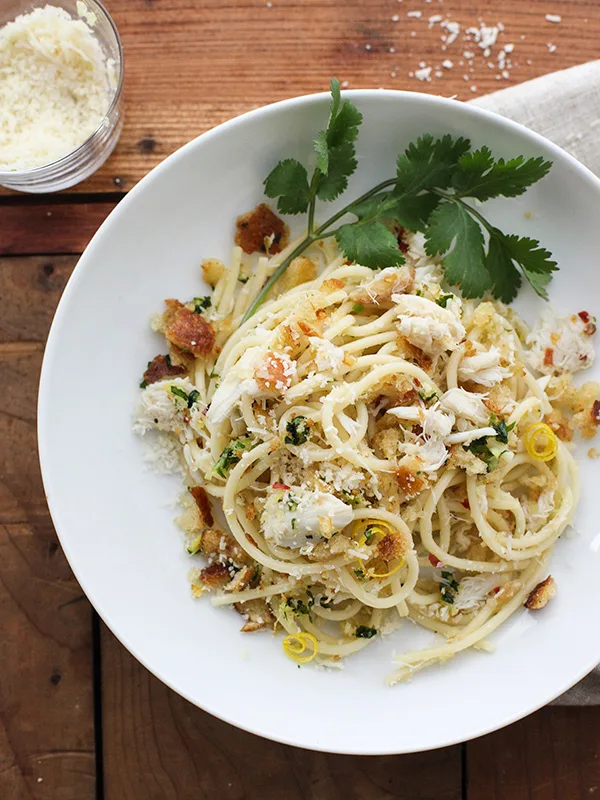
Crab Spaghetti with Lemon Gremolata
This Silly Girl’s Life
Dana DeVolk from This Silly Girl’s Life is a professional chef turned blogger, and she ALWAYS has delicious easy to follow recipes! For Dana, the two most important things while taking photos for her blog are lighting and editing.
Find the right light…it doesn’t have to be in the kitchen. It took me soo long to finally find the natural light I was looking for. I tried all over my house. I even made a light box, and when that didn’t work I got a “real” one for Christmas. Still, I don’t like using it, I don’t know why but others seem to love these light boxes. For me, the best natural light is on my patio in the afternoon. Direct sunlight doesn’t work. It will make the light too harsh. Think in the shade on a sunny day, perfection!
Don’t forget to edit. You don’t need any fancy software. Any free editing website will do. My favorite is PicMonkey.com. Just play around with the different settings or you can read tons of different tutorials from other bloggers on that subject. These two tips were essential to how my photos look now, I’m still not at the point I want to be but I’m getting there!
[Tweet “#FoodPhotography Tip from @DanaDeVolk: Find the right light…it doesn’t have to be in the kitchen!”]
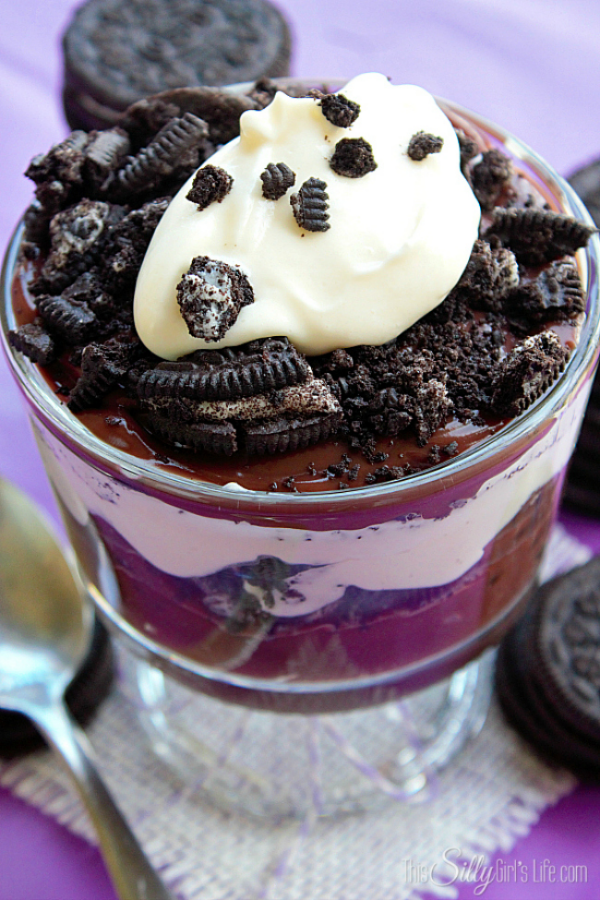

Guilt-Free Cookies and Cream Parfait
Anyonita Nibbles
If you’ve ever been to Anyonita Nibbles’ place, you will find the most mouth watering recipes (with gorgeous photos) and fabulous blogging tips as well. You should definitely bookmark her blog! Her tip is simple but to the point.
Use manual focus instead of auto focus. By using manual focus, you retain control over how your image feels and over which detail to focus on. Manual focus allows you to direct viewers to the most important part of the image.
[Tweet “#FoodPhotography Tip from @anyonita: Manual focus gives you the control to focus on the details.”]
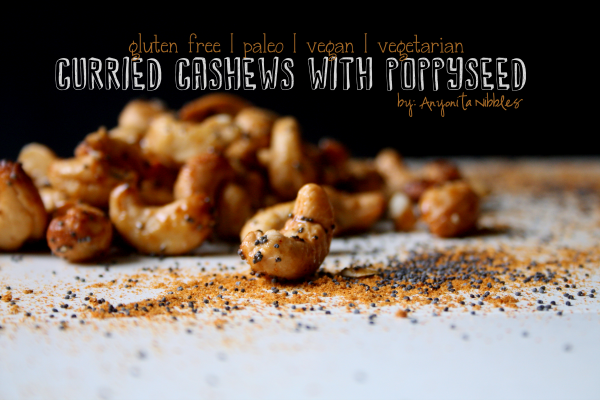
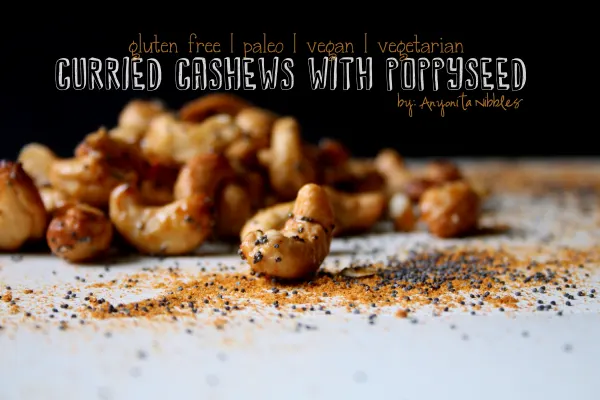
Gluten Free Curried Cashews with Poppyseed
Girl and the Kitchen
I met Mila Furman of Girl and the Kitchen through a SITS challenge several months ago, and I am so glad I did. She caters and teaches cooking classes, and my family loves her recipes, especially her Chicken Kotletky…whenever we make it, we make a double batch and freeze some for another night! Her tip is a great one…I never would have thought of it, but it makes perfect sense!
Staging trick for soup: Soups are one of the hardest food items to photograph due to the difficulty of getting the solids to float on top. But of course us crafty food bloggers have figured out a way! Take a regular ramekin and turn it upside down and then place into your bowl. Pour the soup with all the veggies in it on top. The solids will stay at the top and create the perfect domed effect you are looking for!
[Tweet “Stage your soup with this simple trick, via @Mila_Furman! #foodphotography”]
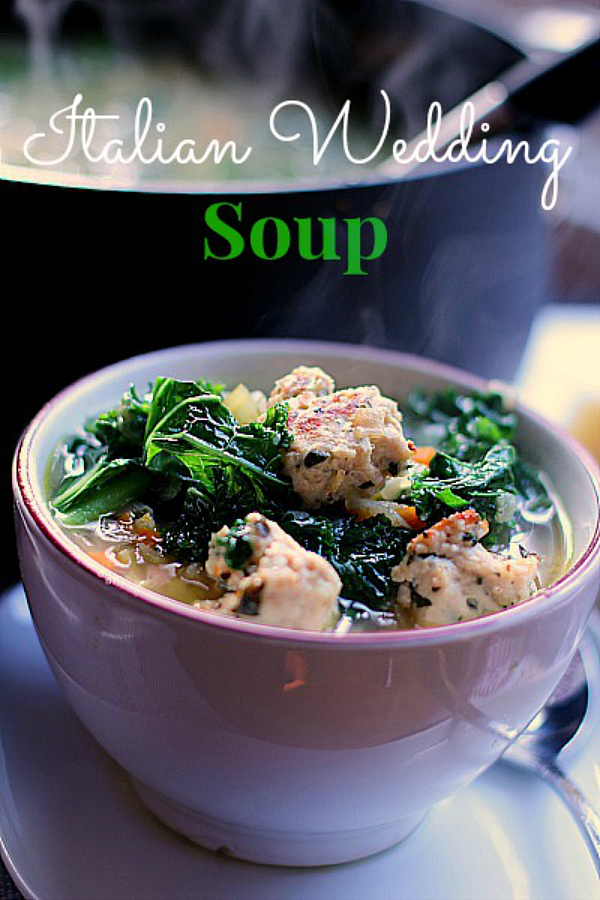
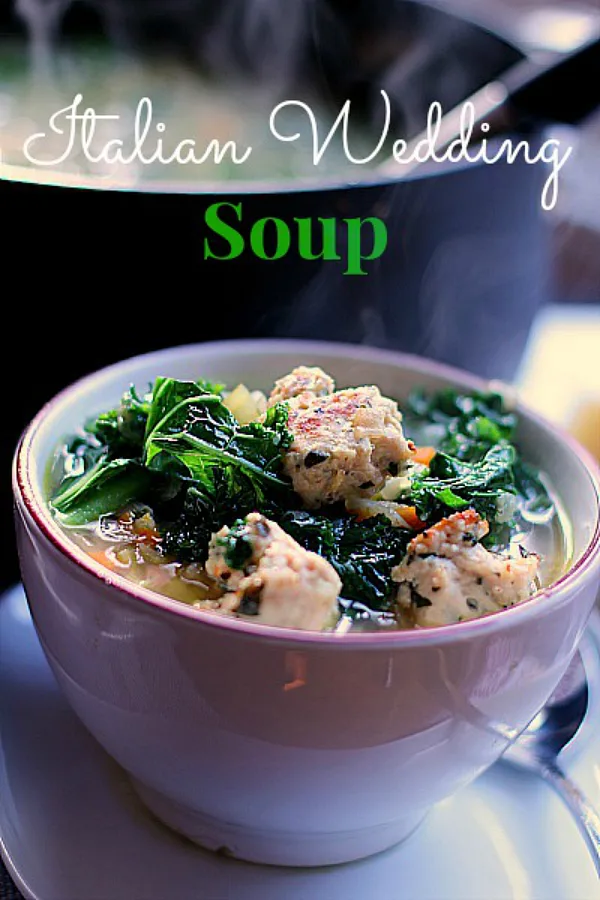
Italian Wedding Soup
PinkWhen
Jen West of PinkWhen is known for her delicious recipes and amazing DIY projects. Her tip is one that really makes a big difference in food photography…when you look at food photos going forward, check out the background. I think you will find often times those with blurred backgrounds are appealing to you.
Learn how to use your aperture setting. When I am taking pictures of food I always try and make sure I have just the right amount of focus on the product with the background lightly blurred. The lens I use is a 50mm 1.4, and I usually set the aperture at around 2.8 – 3.2. I find staying in this range really helps the photograph focus on the intended product, with allowing your eyes to be drawn away and take in the additional items in the background.
[Tweet “#FoodPhotography Tip from @pinkwhen: Learn how to use your aperture setting!”]

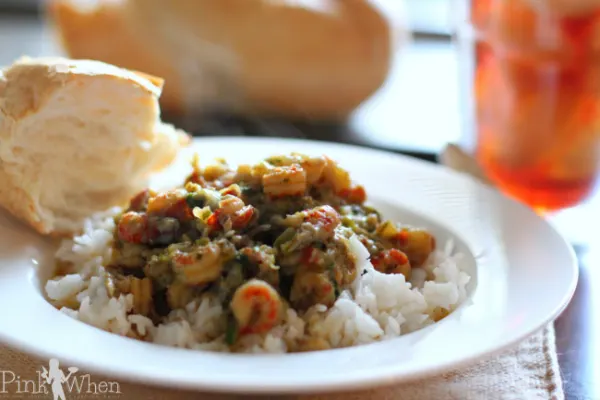
Cajun Southern Louisiana Crawfish Etouffe
The Pinning Mama
From recipes to DIY to product reviews, there are some great finds over at The Pinning Mama! I’ve always been impressed with their photography for all of their projects. Here’s their top tip:
Brighten up your photo. Always make sure your pictures are bright! Bright pictures draw in your eye, get more repins on Pinterest, and just generally look happier and more appealing. I always shoot in natural light. Using white parchment paper like I did in this picture can help brighten things up when it is a cloudy day or you are losing light. I also, almost without exception, brighten them up even more in post processing. I use Photoshop Elements, but you can easily use PicMonkey online for free too!
[Tweet “Why you might want to try using white parchment paper, via @thepinningmama #foodphotography”]

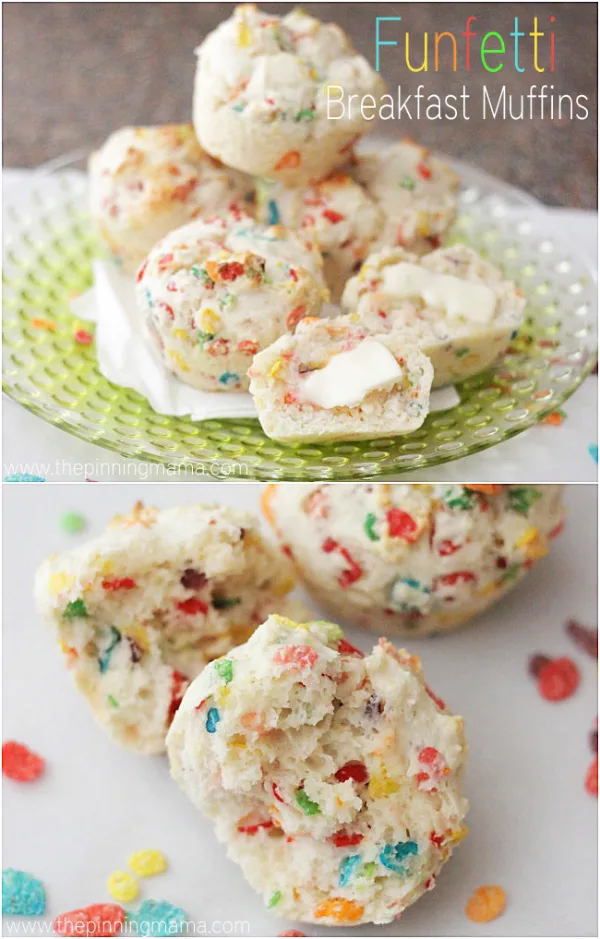
Funfetti Breakfast Muffins
A Dish of Daily Life
I’d like to share a couple of my best tips as well. Like others have mentioned, I have learned how to take advantage of the best natural light in my home, and how to blur the background in my photos. But here are a few other tips that weren’t mentioned.
Shoot from all different angles. Shoot high, shoot low, shoot at eye level. Take lots of pictures…give yourself options. You can always delete the ones you don’t need. Make sure you also take vertical photos as well as horizontal. A vertical photo is considered more pinworthy, so try to use those for Pinterest whenever possible.
Stage the scene. If you don’t have a good background to work with, change it up. I have a great kitchen with beautiful granite countertops, but they’re dark and don’t photograph well. I have used tablecloths, placemats, and recently purchased a couple of inexpensive photo backdrops that give me a nice clean (and pleasing to the eye) background.
[Tweet “Shoot your photos at different angles…give yourself options! #foodphotography”]
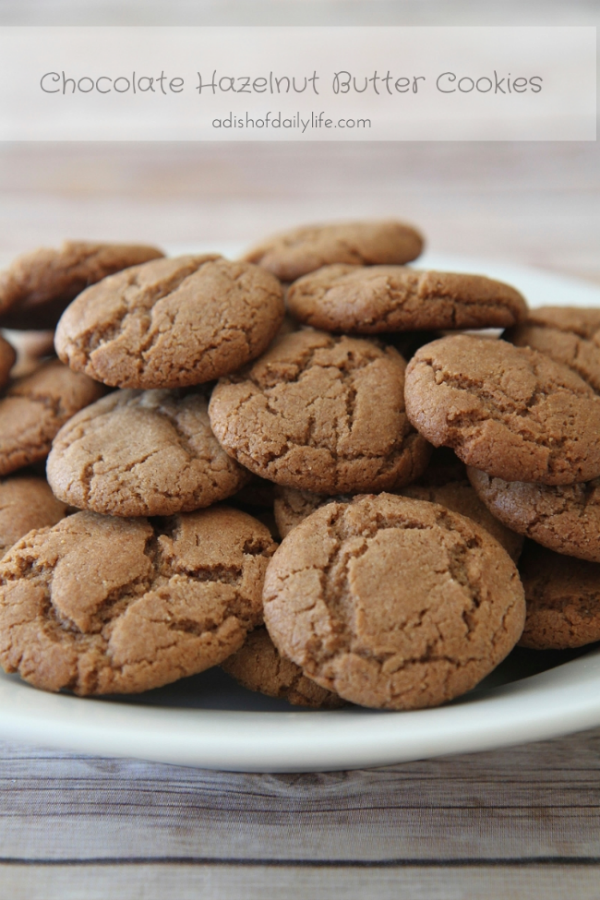

Chocolate Hazelnut Butter Cookies
Which tips did you find most helpful?

Danielle
Saturday 6th of January 2018
I'm currently working on my food photography and these are great tips! I struggle the most with the lighting and composition. I can only shoot at night when I get home from work, so struggle with making artificial lighting work for me. I'm getting there though. Great tips!
Juan Carlo
Monday 9th of February 2015
Awesome work Michelle! It covers not only the basics of food photography but also provide some additional tips to maximize the end-result. I have already saved this in my browser for tips in the future.
Juan Carlo
Monday 9th of February 2015
Nice! I must say that this is a very well written post! It covers not only the basics of Food Photography but also covers some additional tips and tricks to maximize the end-result, Thank you for sharing this! I have already bookmarked this in my browser :)
Lise
Monday 20th of October 2014
Great tips! The comments about using natural light were a bit revolutionary to me. I knew when photographing other subjects they always turned out best with natural light, but for some reason I never applied the same logic to my food photography! Thanks!
Jasbir
Thursday 25th of September 2014
Soup! That's the best trick I learned here. I would.use it.