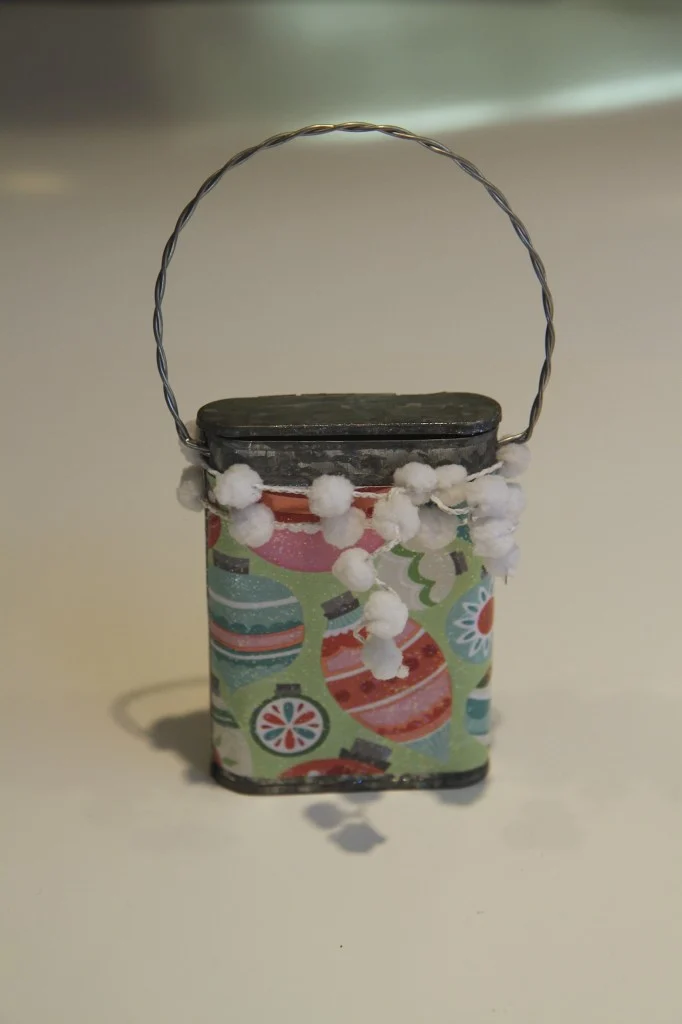
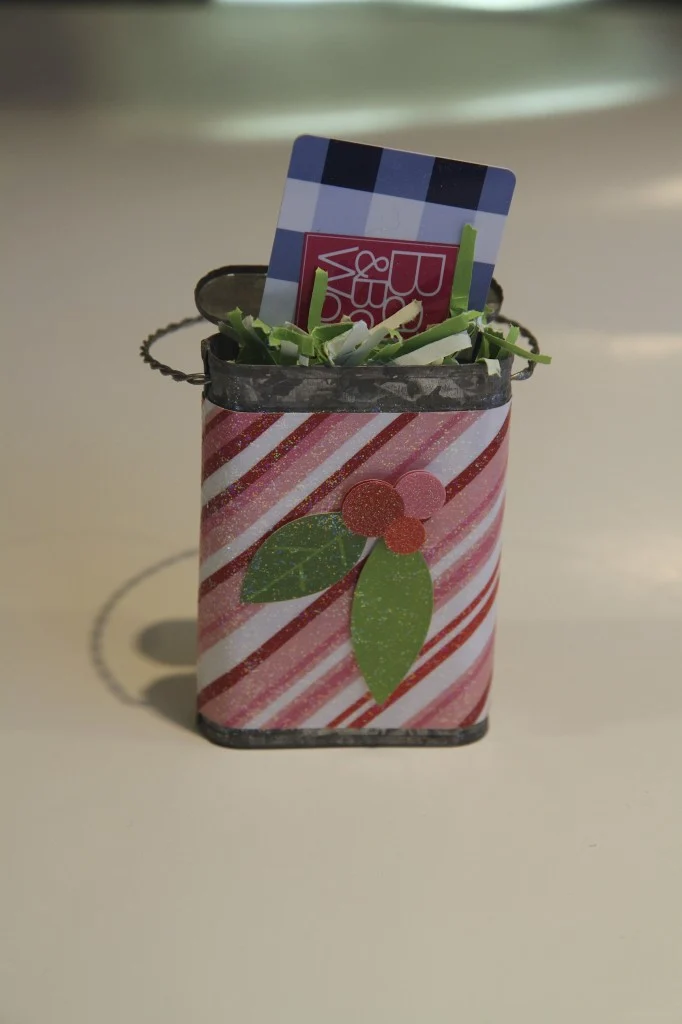
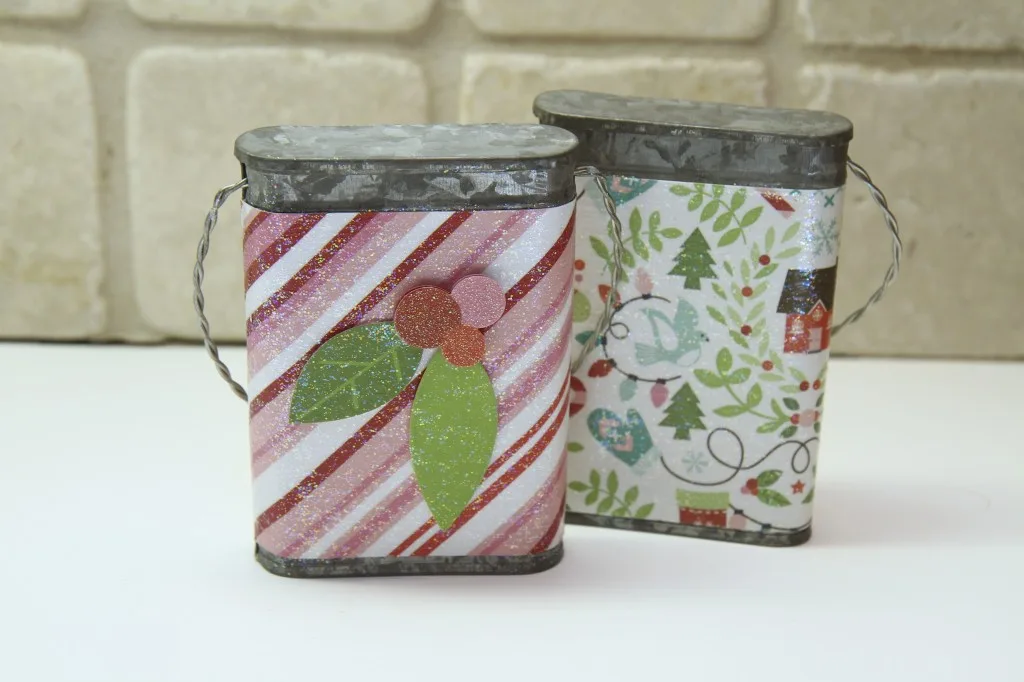
I used to do a lot of craft projects, but in recent years I’ve gotten away from it, unless it includes photos. But I did make these DIY decopauge holiday ornaments that double as gift card holders a few years back, and they were so cute, I wanted to make them again. I already had the metal tins, because I purchased them last year intending to do it then, but never got around to it. This year I know I am giving some gift cards though, so I thought it would be a fun project to do.
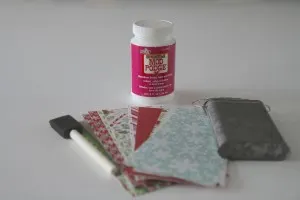
- Metal tins
- Paper trimmer
- Mod Podge (for this project I used regular and Sparkle Mod Podge)
- Foam brush
- Patterned paper
- Embellishments (stickers, ribbon)
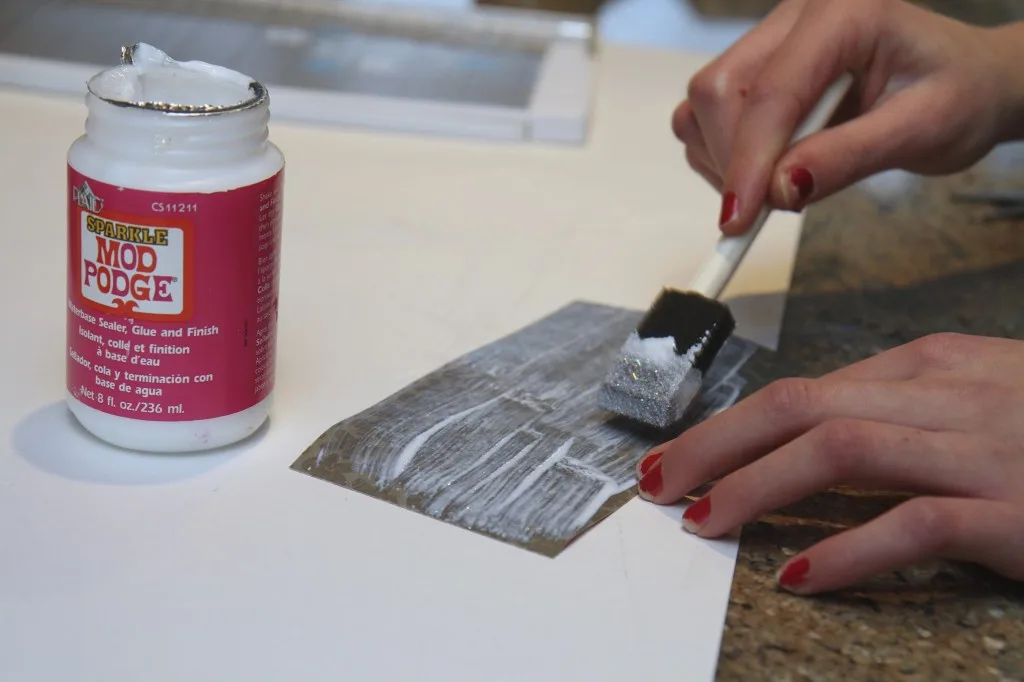
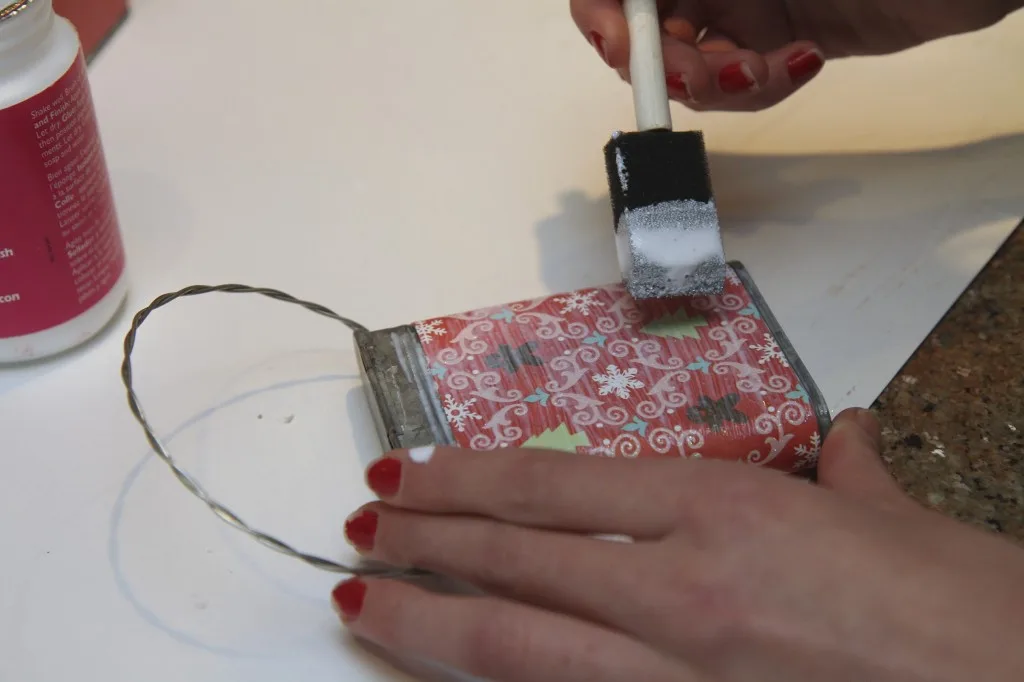
Trim your paper to fit around your metal tin. Using your foam brush, paint the back side of the paper strip with Mod Podge and adhere to your metal tin. Next paint the outside of your tin with Mod Podge. Allow the tin to dry before giving it a second coat. If you choose, add sticker embellishments after the second coat dries, and apply a third coat to seal it all. You might be able to get by with adding the embellishments after the first coat, and then doing just two coats, but I always do three.
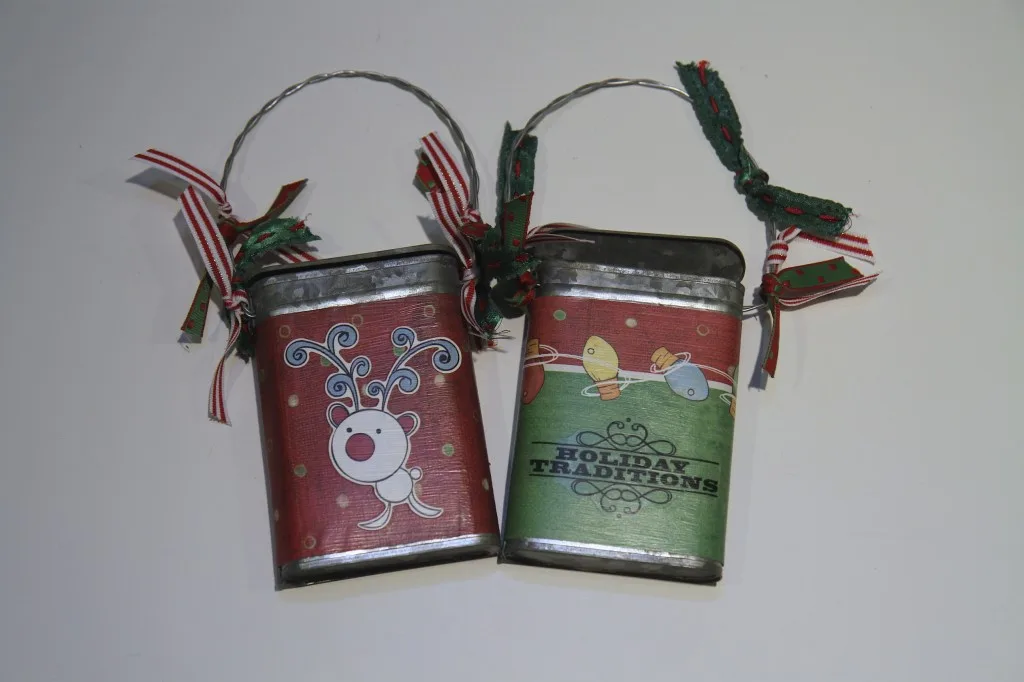
Once completely dry, you can also add ribbons, if you like.
Here are a few of my finished creations! They are cute ornaments for your tree, but as I mentioned before, they also make good gift card holders! My daughter helped with this project, and she is putting gift cards and gum into two of these for her brothers! (She’s using Amazon gift cards though!)
The great thing about decopauge is you can do it on just about anything! Years ago, I decopauged ceramic jars with lids, and we gave them as presents…they were great for holding hair bands, jewelry, and other little trinkets. What kinds of decopauge projects have you done? We’d love to hear about them!


