
Chicken Pot Pie Hand Pies are the perfect thing when you’re craving cozy comfort food in a fun, handheld form.
Packed with tender chicken, hearty vegetables, and creamy filling wrapped inside flaky puff pastry, these little pies are a great recipe for busy weeknights, family dinners, or even game day snacks.
They’re easy to make, freezer friendly, and always disappear fast the second they hit the table.
If you love classic chicken pot pie but want something a little more portable and party-friendly, you’re going to love these savory hand pies!

A Modern Spin on an Old Favorite
Chicken pot pie has been around forever, rooted in medieval meat pies that were basically edible bowls. The American version we know today took off in the 1950s when frozen versions hit grocery stores and became a weeknight staple. But hand pies? They’ve been a thing for even longer. Think Cornish pasties, empanadas, and turnovers. All portable. All genius.
The idea of stuffing pot pie filling into individual pastries isn’t traditional, but it makes so much sense. You get all the comfort of the original with way more versatility. Pack them for lunch. Freeze them for later. Serve them at a party without dealing with a serving spoon. The format just works.
These handheld chicken pot pies take the best parts of both worlds: the rich, savory filling of American pot pie and the grab-and-go convenience of a handheld pastry. It’s comfort food that actually fits into real life, and honestly, that’s reason enough to make them on repeat.
Why This Recipe Works
Most pot pie recipes fail because the filling is either too soupy or too thick, and the crust is either soggy or tough. These chicken hand pies fix all of that. This is the ultimate comfort food for anyone needing a little home cooking.
The filling uses a classic roux-based gravy, but it’s intentionally thicker than what you’d put in a casserole. That’s because hand pies need structure. If the filling is too loose, it leaks out during baking and makes a mess. A thick, creamy consistency holds its shape when you fold the dough and stays put when you bite in.
The pastry itself is butter-heavy and kept cold throughout the process. Cold butter creates steam pockets when it hits the oven, which is what gives you those flaky, shatteringly crisp layers. If the dough gets warm, the butter melts into the flour and you lose that texture. It’s not fussy, it’s just physics.
Another key: venting the tops. Those little slits aren’t just decorative. They let steam escape so the pies don’t puff up like balloons and burst open. You want a tight seal on the edges but a release valve on top.
Ingredients and What They Do
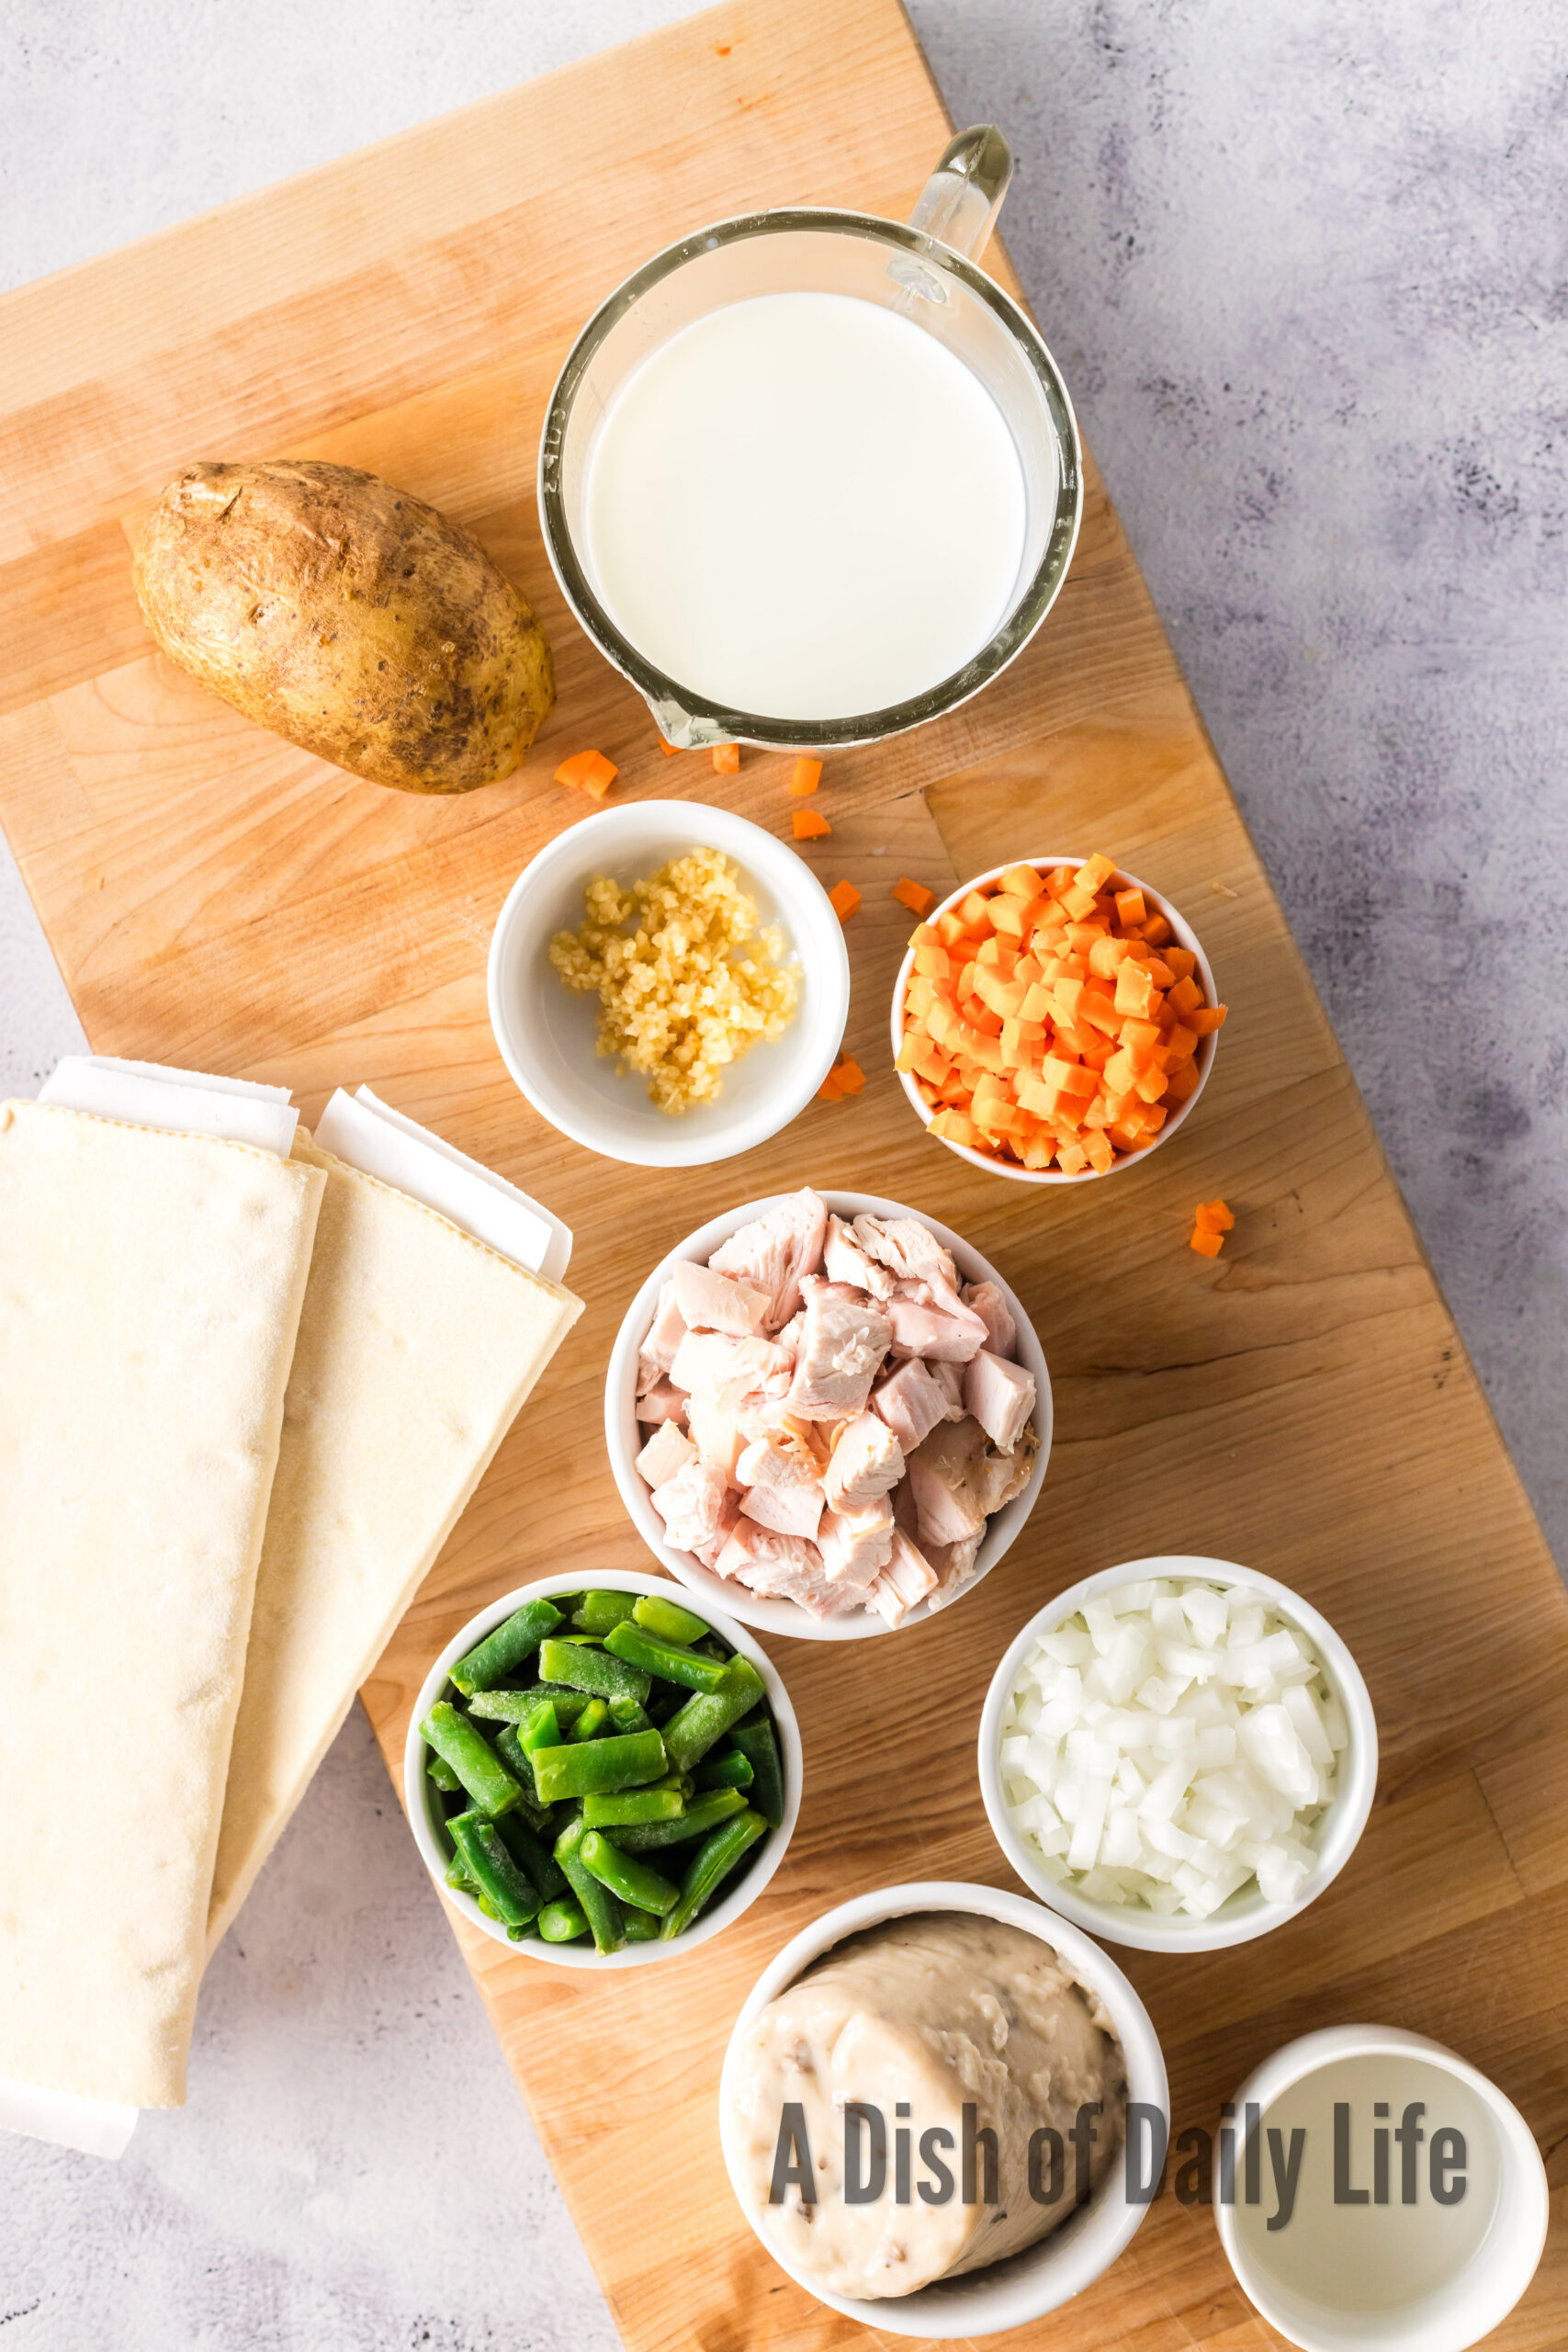
Every ingredient here has a job, and swapping or skipping changes the outcome. The best part of this recipe is the simple ingredients!
- Butter (1 Tablespoon): adds flavor and helps the veggies cook.
- Onion (1/2 cup, diced): adds savory flavor and a little sweetness to the filling.
- Minced Garlic (2 cloves): gives the hand pies a rich, comforting flavor.
- Green Beans (1/2 cup): add freshness and a slight crunch.
- Carrots (1/2 cup diced): bring sweetness, color, and classic pot pie flavor.
- Baked Potato (1/2 cup cut in 1/2 inch pieces): makes the filling hearty and satisfying.
- Cooked Chicken (1 cup, cut in 1/2 inch pieces): provides protein and the main comforting base of the dish. Use a rotisserie chicken for easy prep.
- Cream of Mushroom Soup (1 can 10.5 ounces): creates a creamy, flavorful sauce that holds the filling together.
- Milk (1 can): thins the soup into a smooth, creamy gravy consistency.
- Water (1/8 cup water): helps loosen the sauce so it isn’t overly thick. You can also use chicken stock if you have some open.
- Puff Pastry (2 boxes = 4 sheets): bakes into a flaky, buttery crust that turns the filling into portable hand pies.
Step-by-Step Instructions
- Preheat your oven to 400°F. Line a baking sheet with parchment paper.
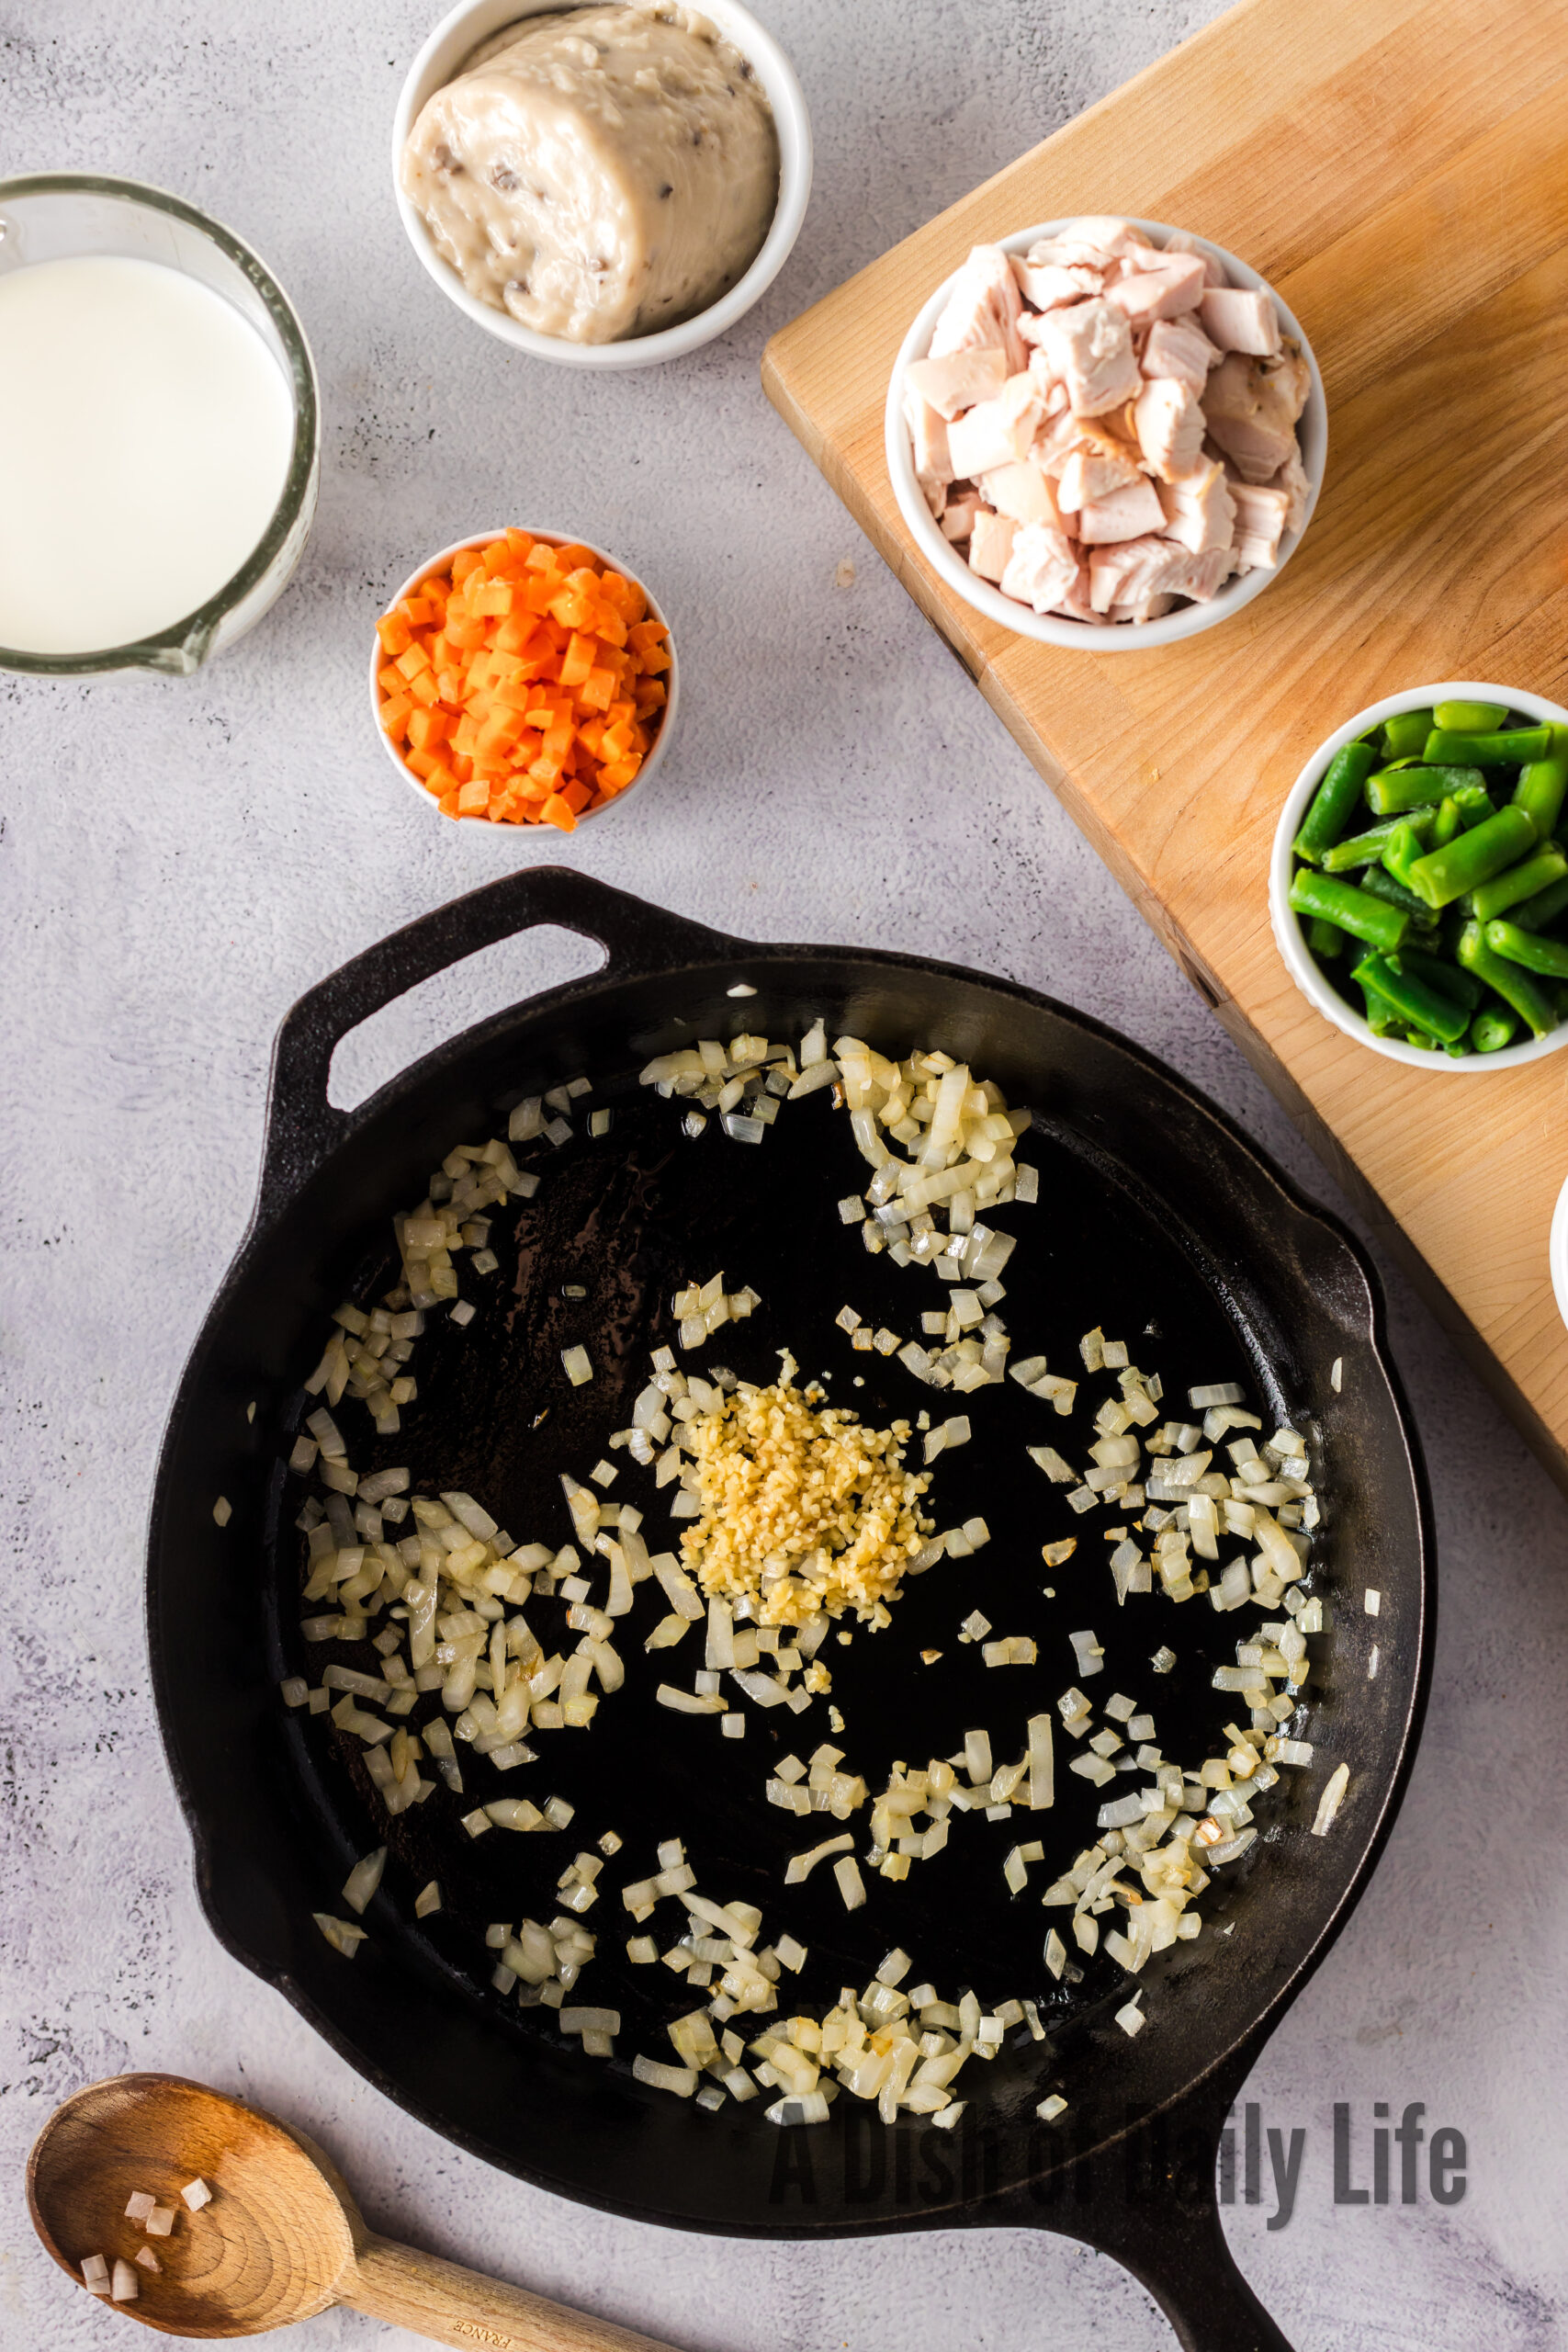
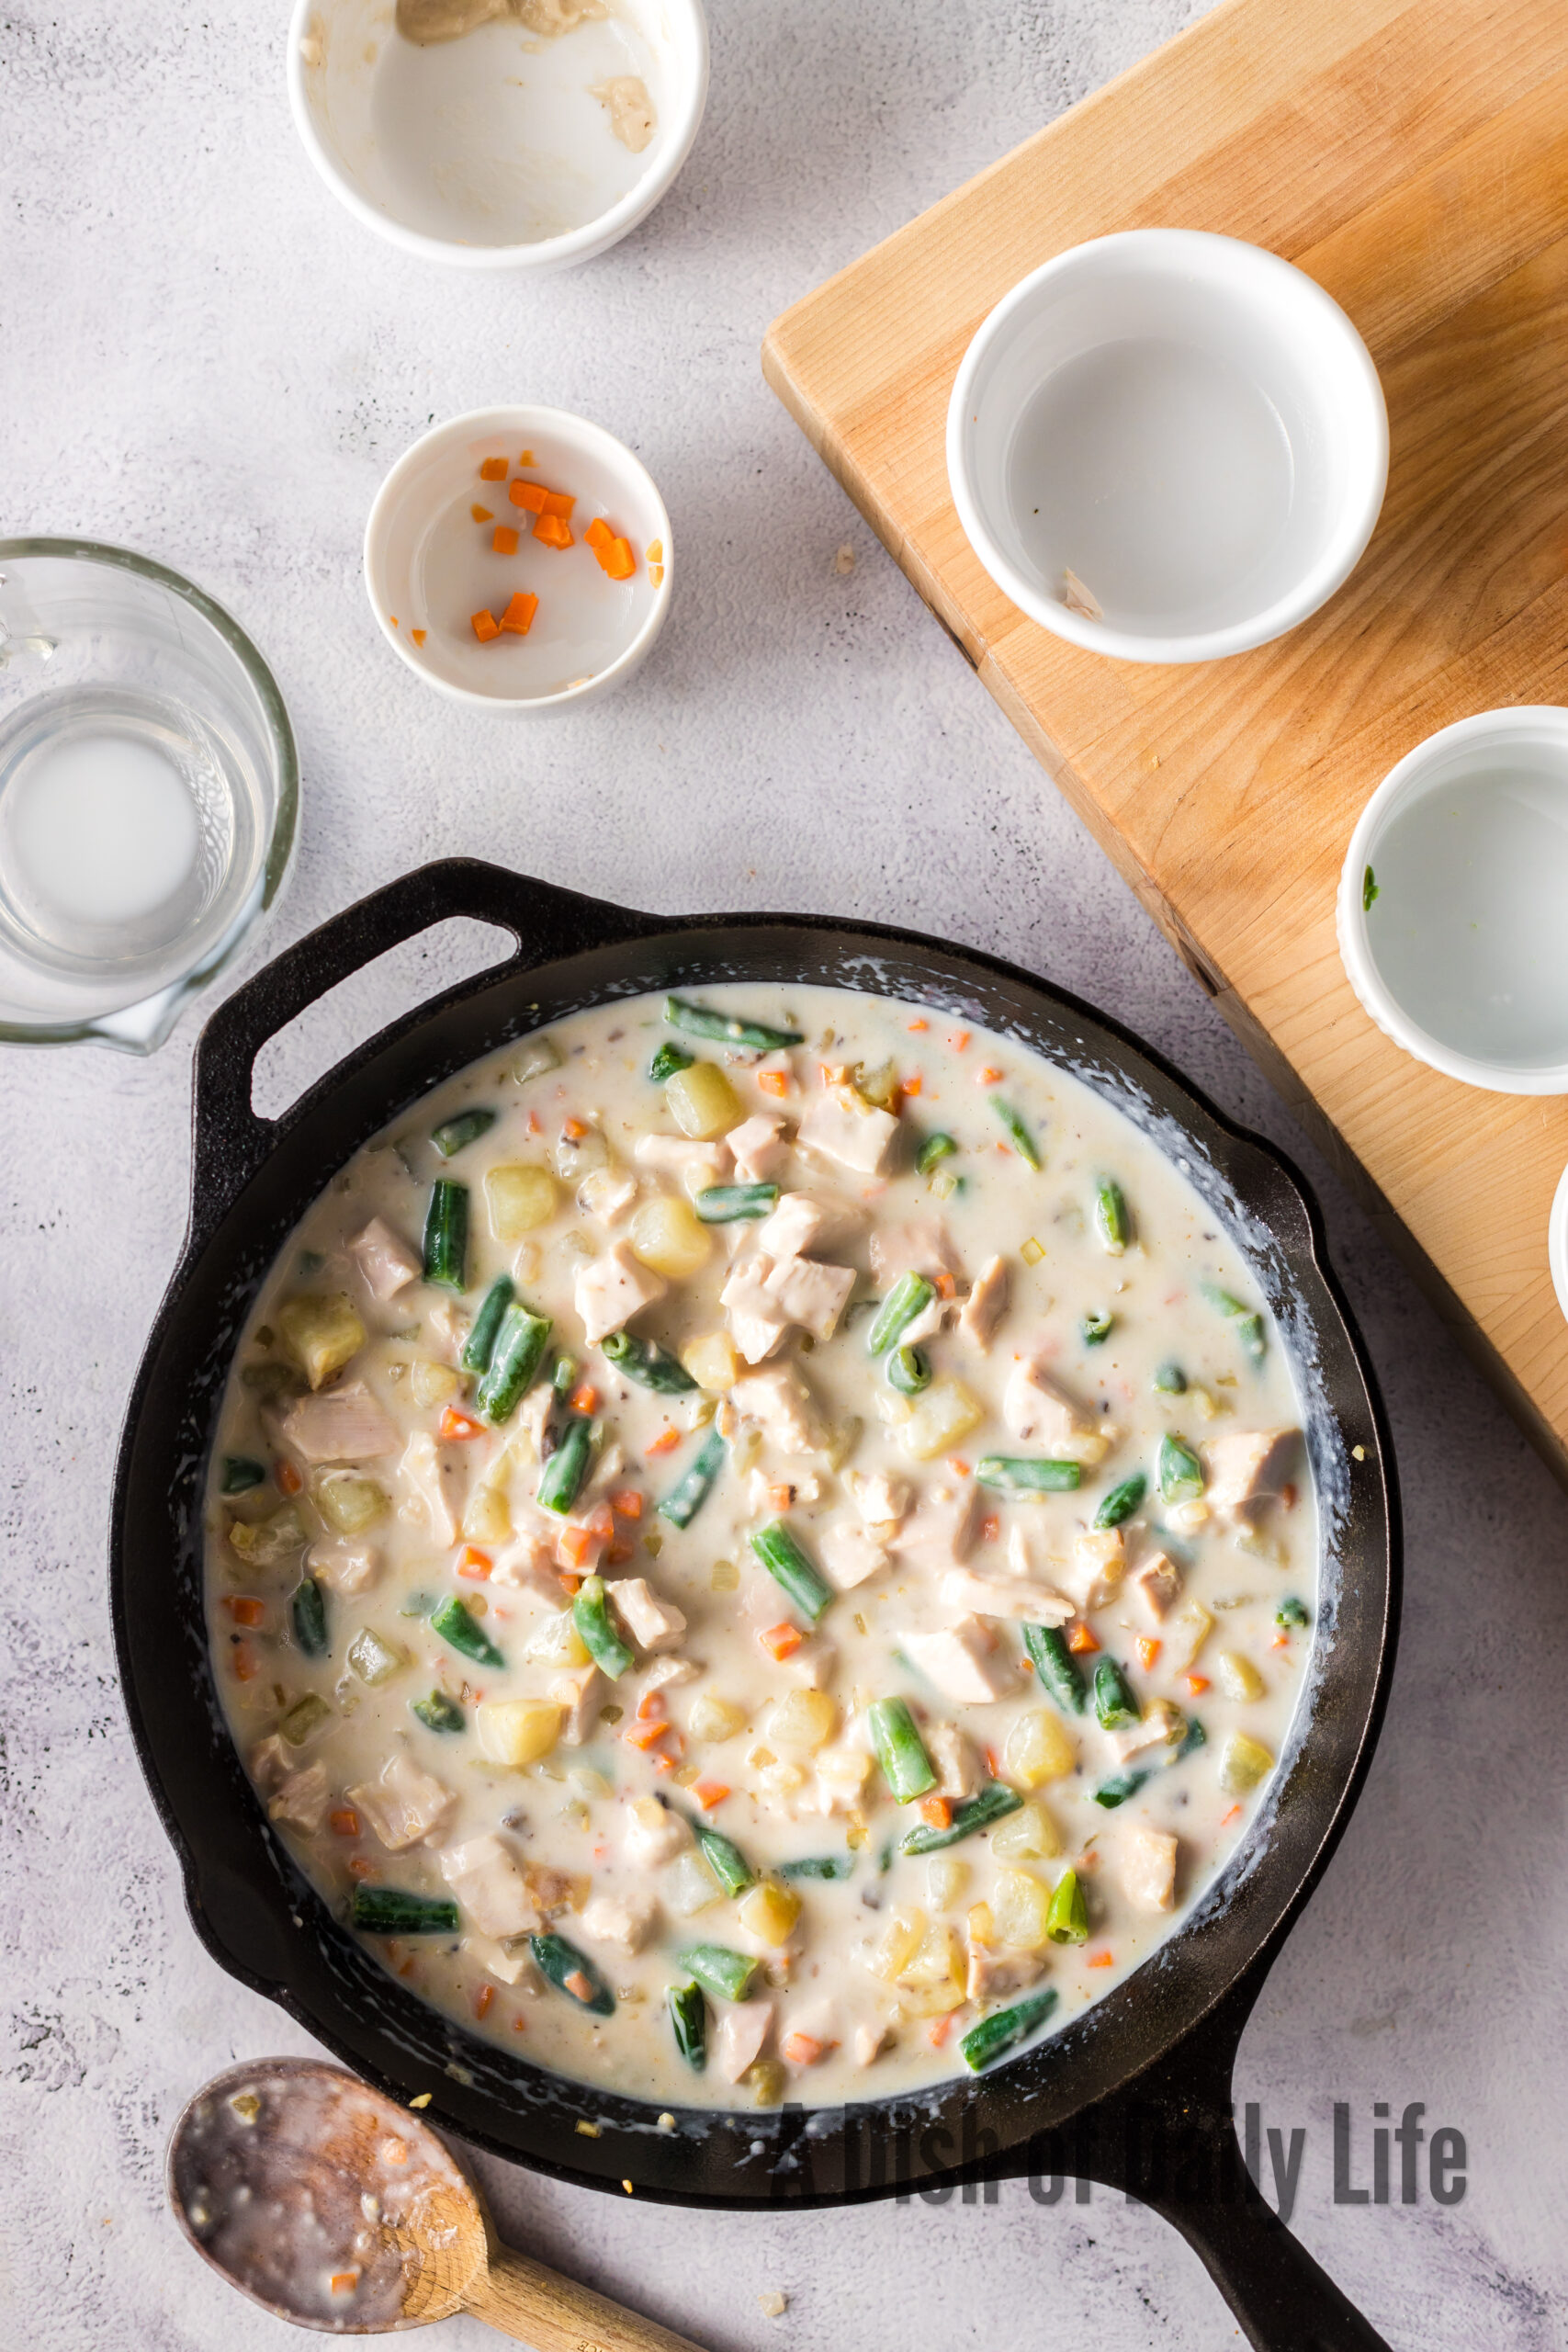
- In a large skillet over medium heat, add butter. Cook the diced onion for 3–4 minutes until softened. Add the garlic and cook for another 30 seconds.
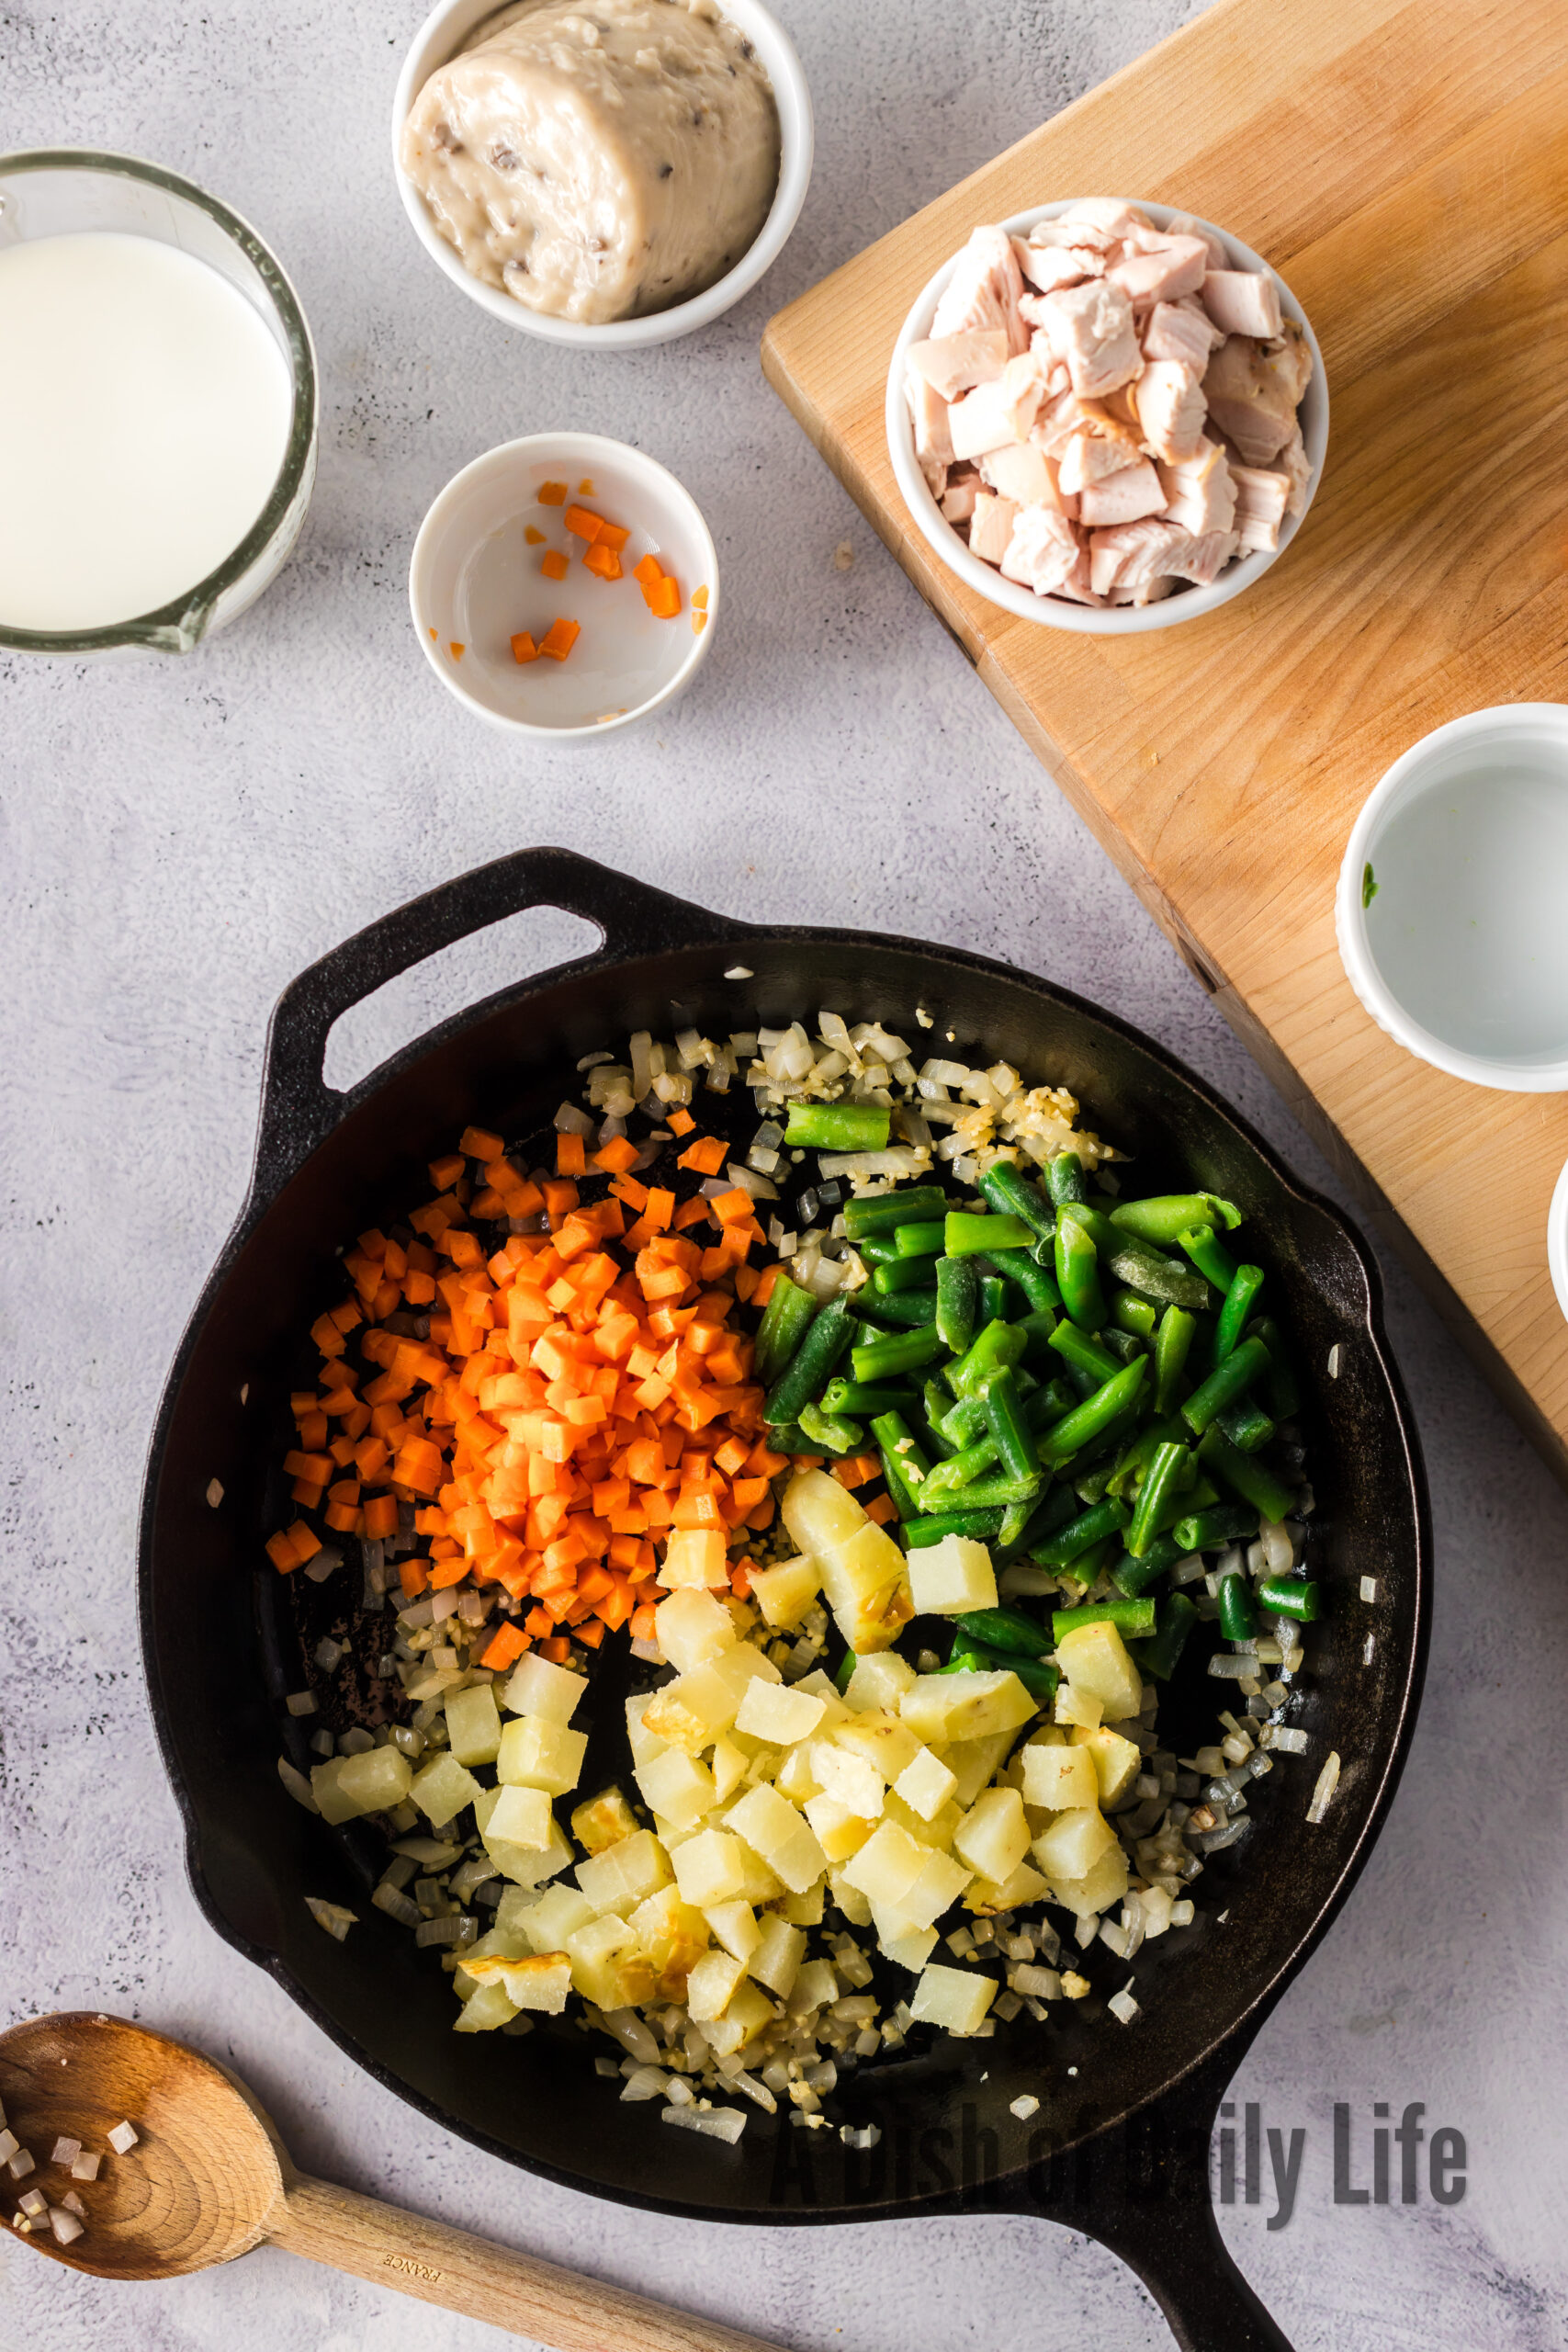
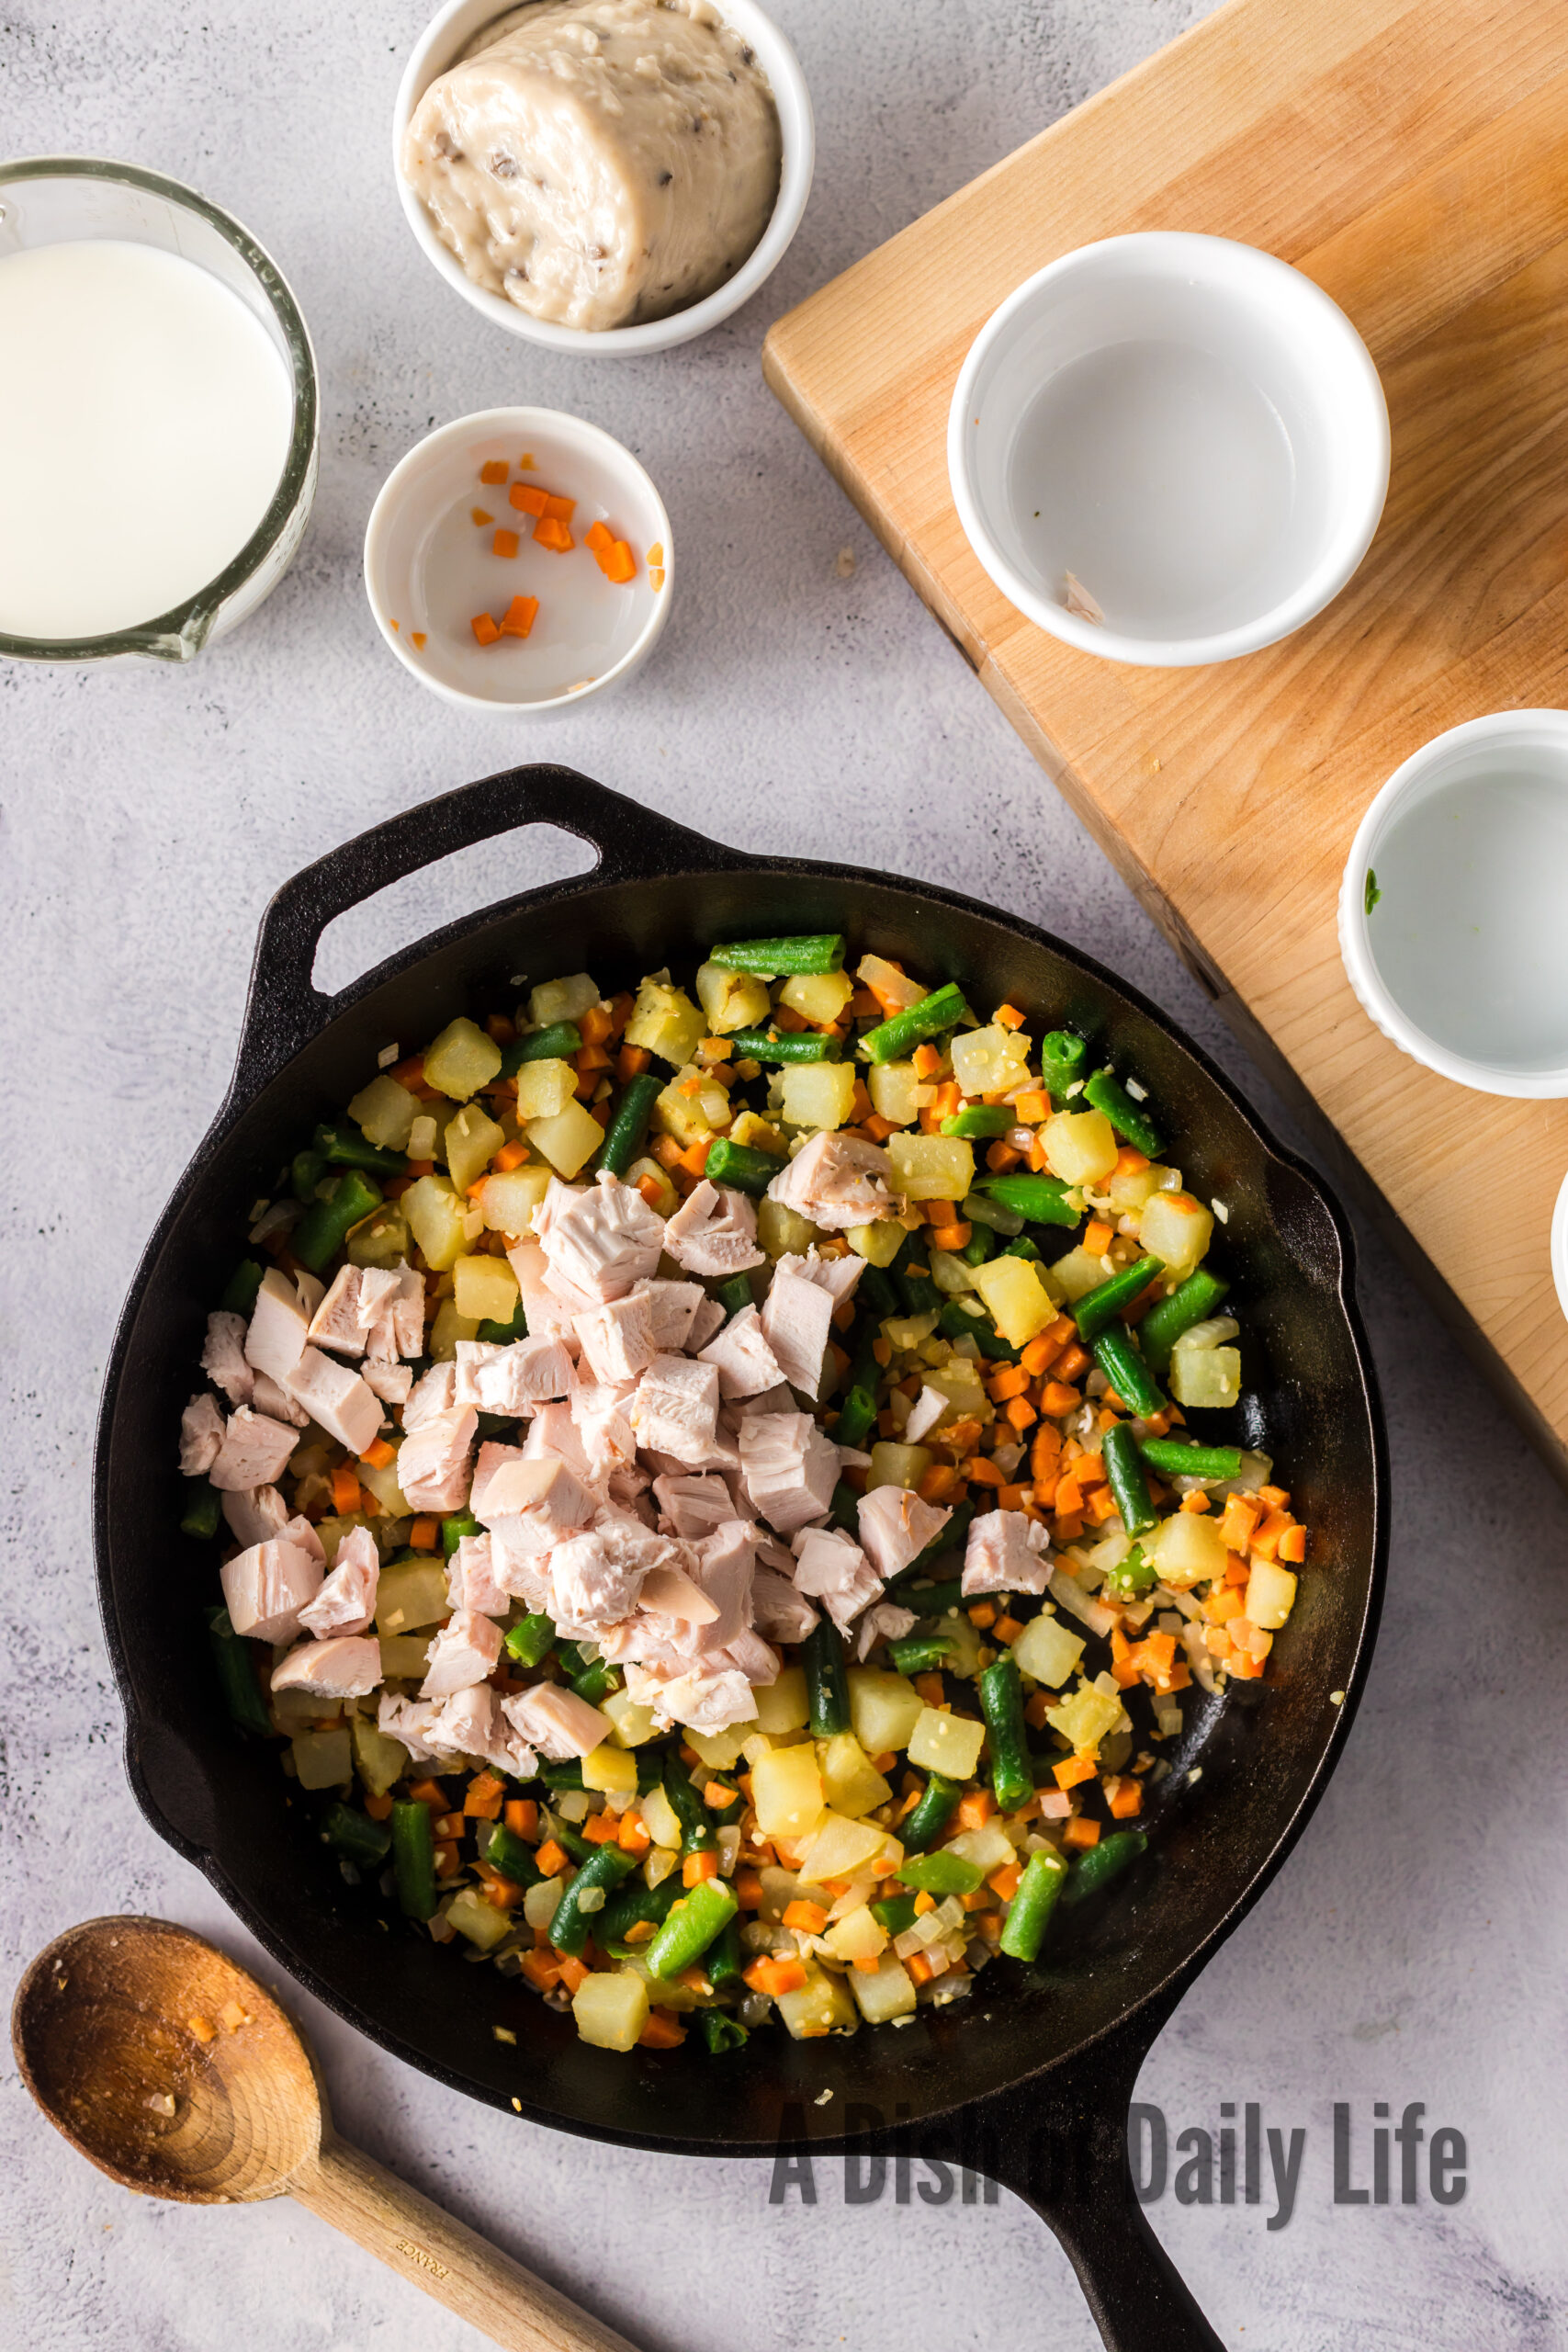
- Stir in the carrots and cook for 3–4 minutes until slightly tender. Add the green beans, baked potato pieces, and cooked chicken.
- Pour in the cream of mushroom soup, milk, and water. Stir everything together until well combined. Simmer for 5–7 minutes, stirring occasionally, until the filling thickens slightly. Remove from heat and let cool for 10–15 minutes.
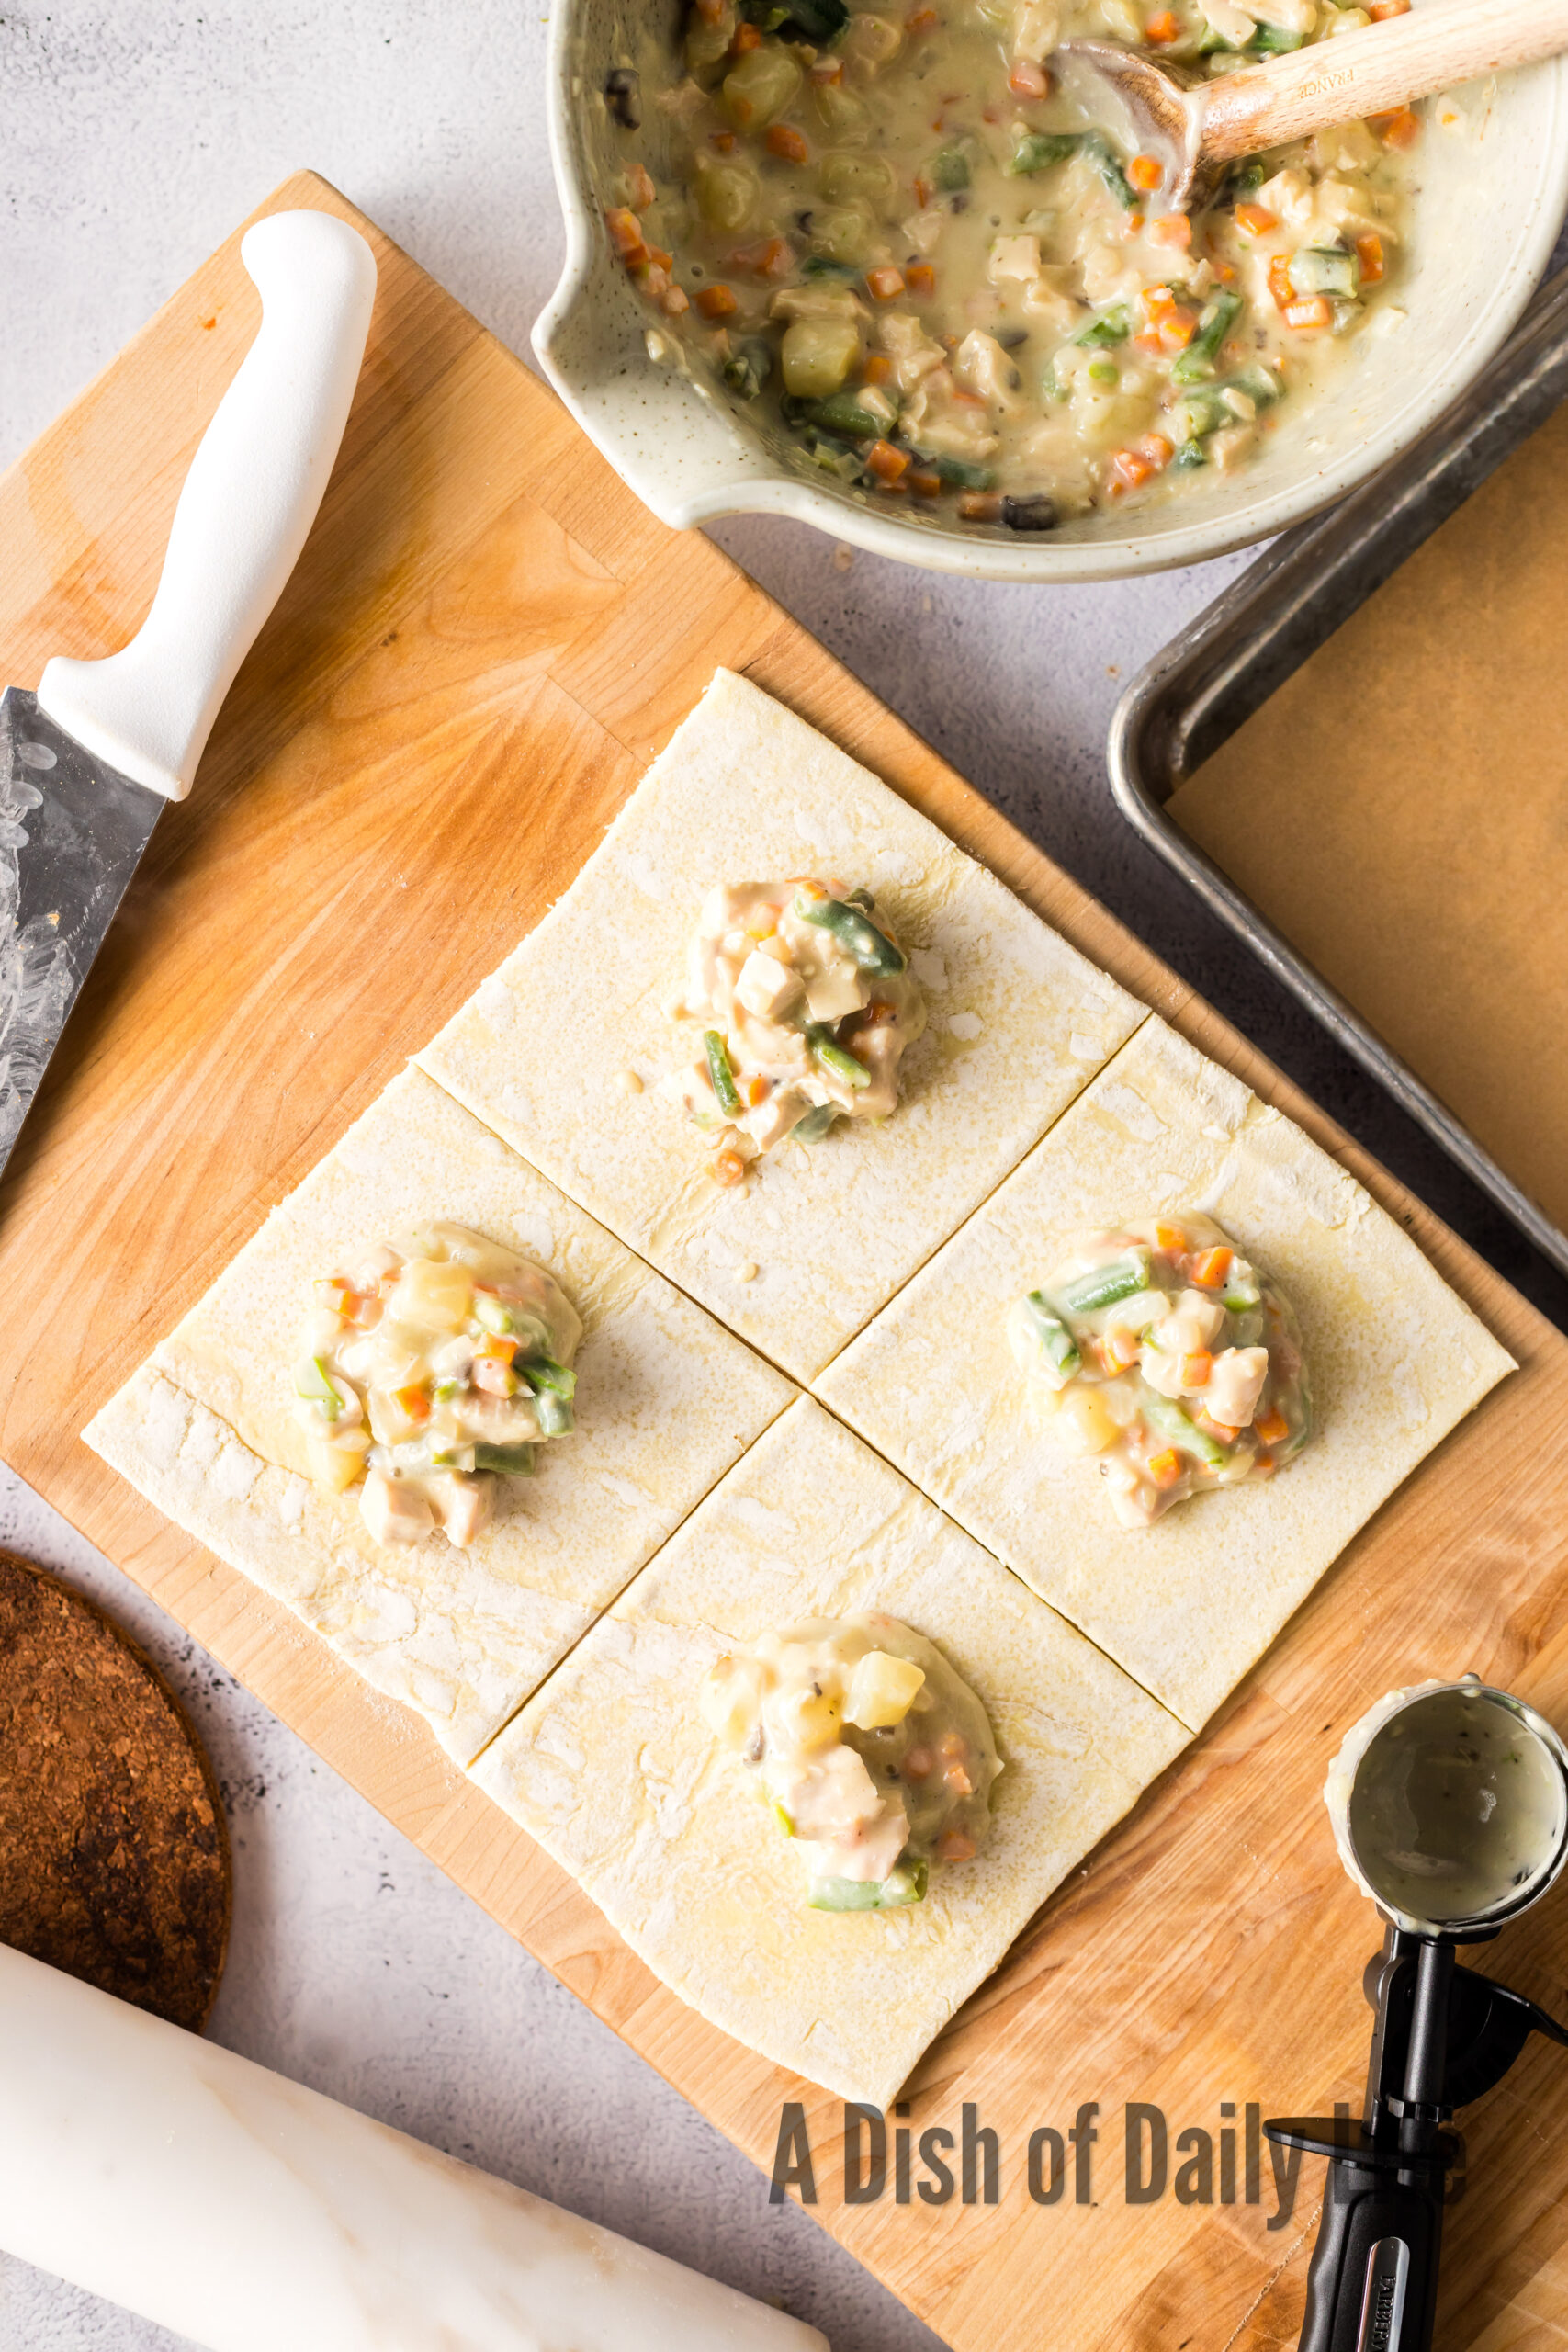
- Unfold the thawed puff pastry sheets on a lightly floured surface. Cut each buttery puff pastry sheet into 4 equal squares for a total of 16 hand pies.
- Spoon about 2–3 tablespoons of chicken pot pie filling into the center of each square. Avoid overfilling.
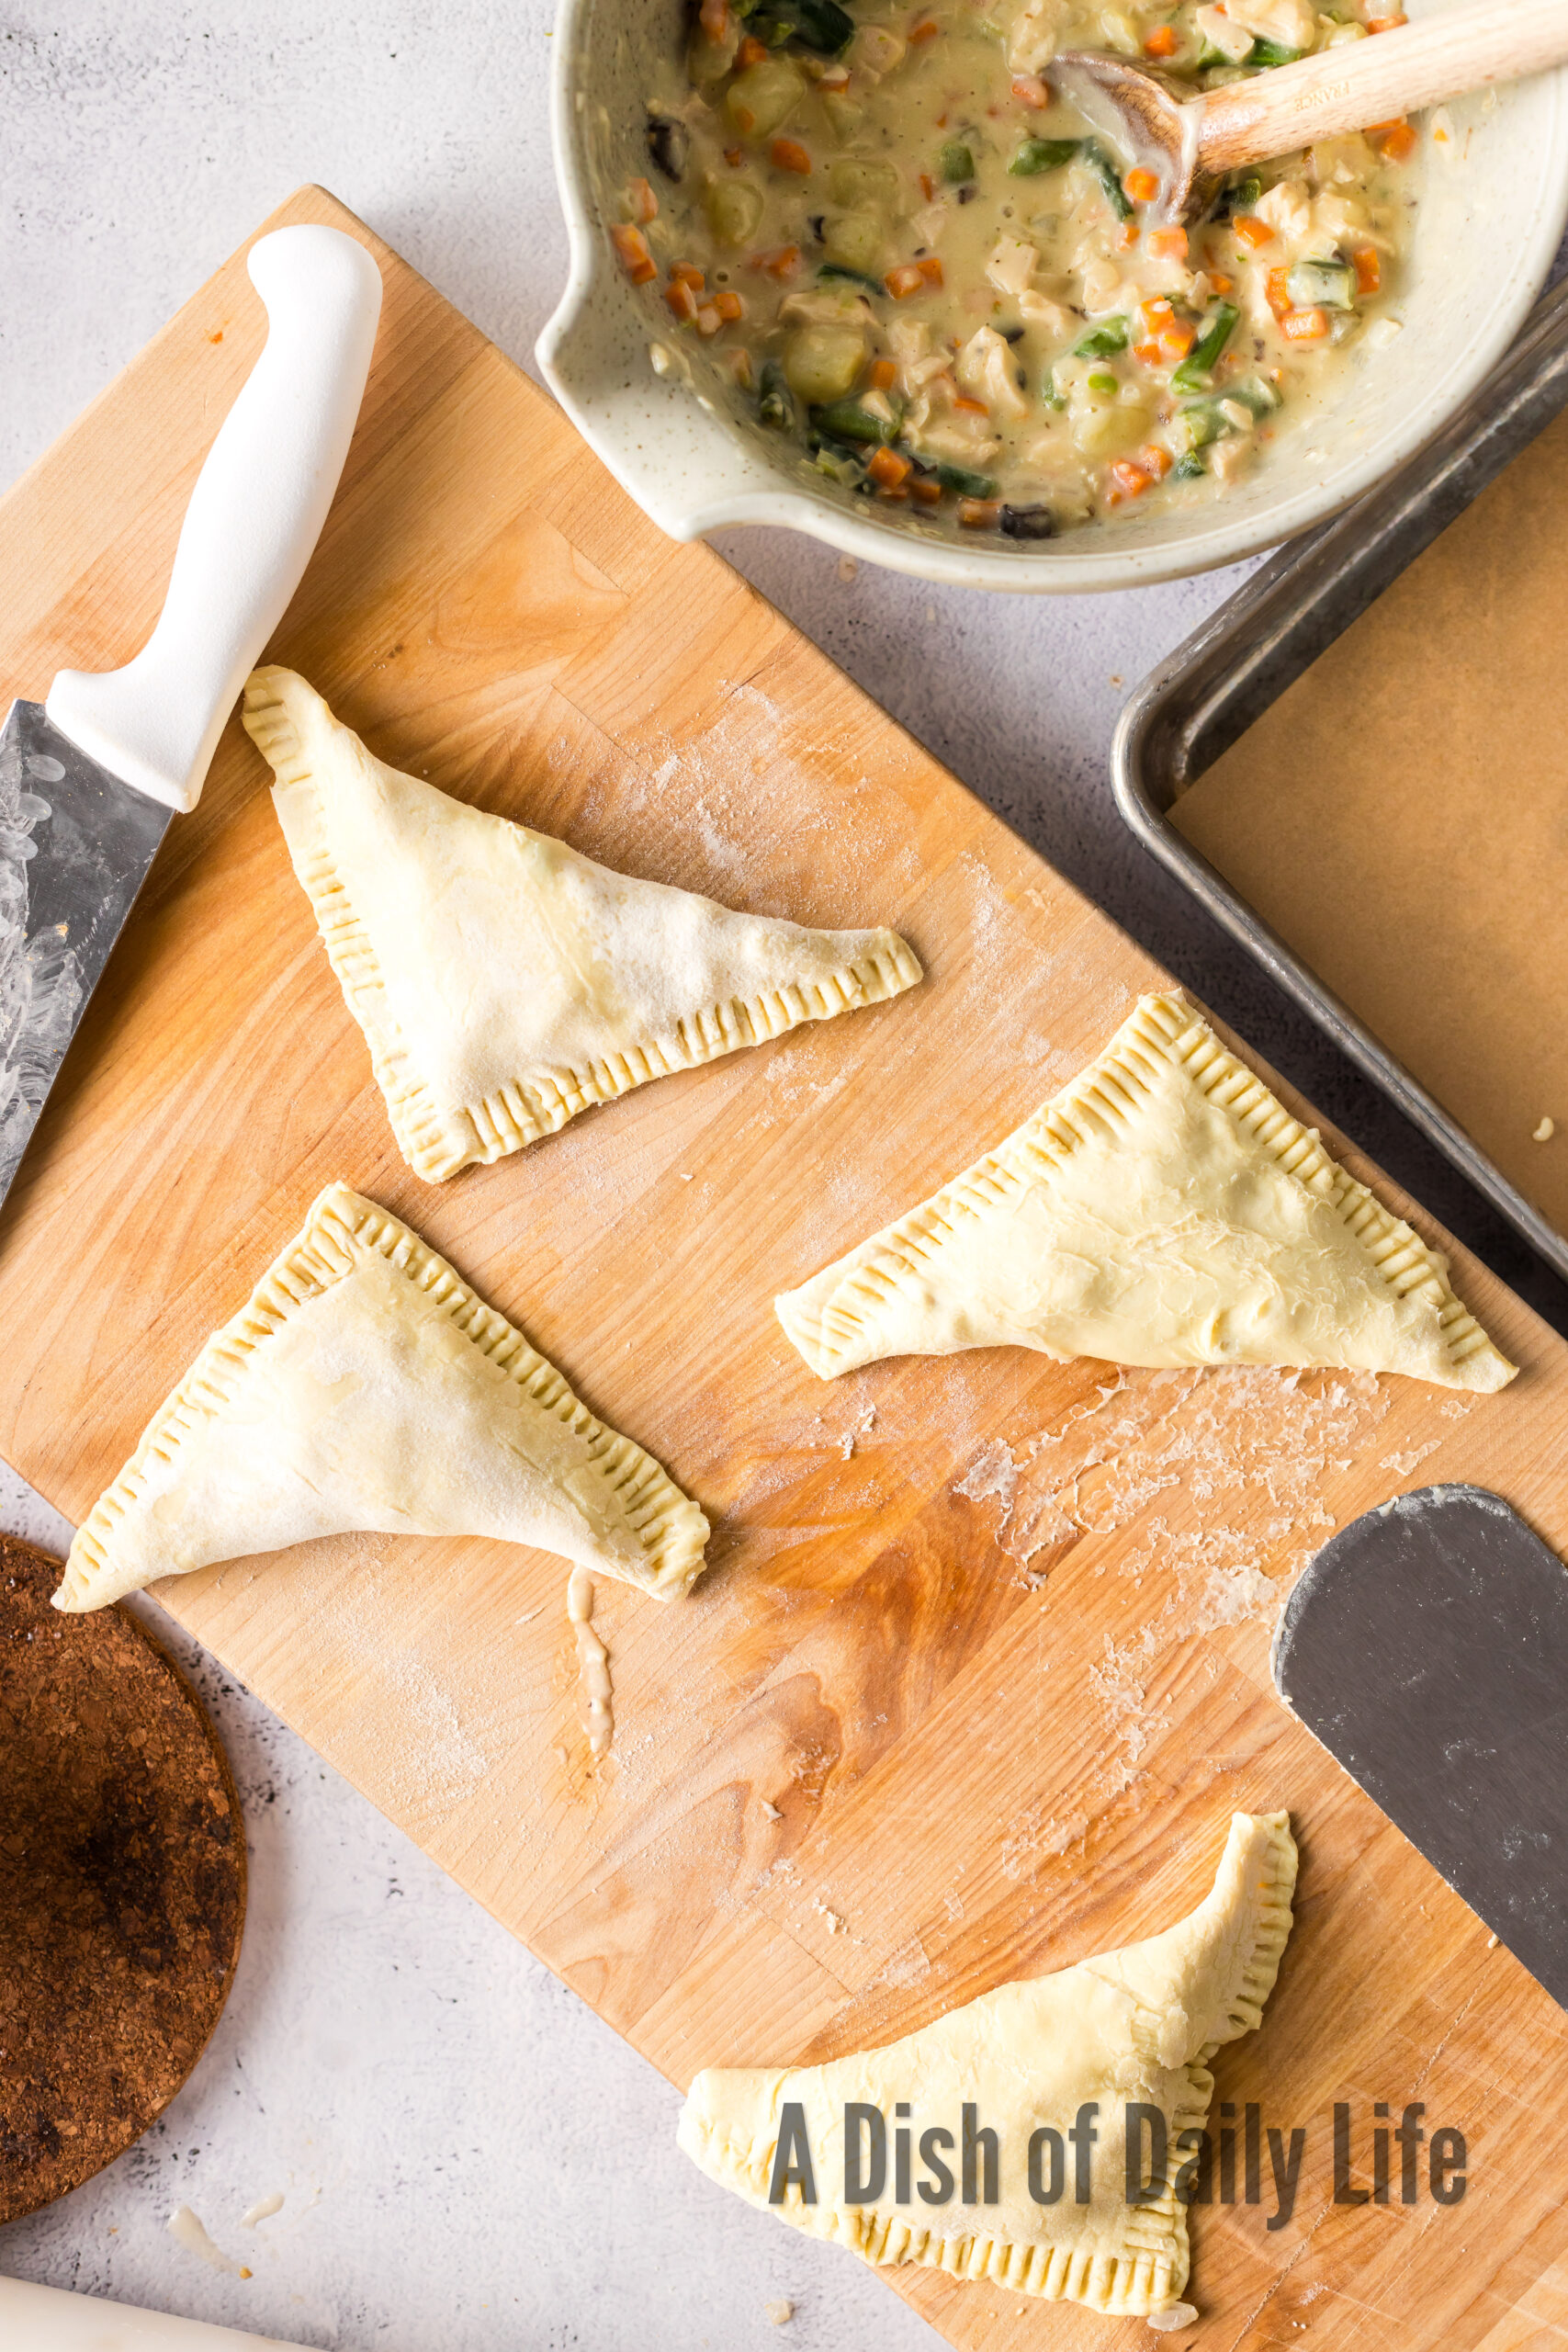
- Fold each square diagonally to form a triangle or fold in half into a rectangle. Press the edge of the dough together with a fork to seal.
- Place the chicken pot hand pies on a prepared baking sheet. Cut a small slit in the top of each pie with a sharp knife to allow steam to escape.
- Bake in preheated oven for 18–22 minutes, or until the puff pastry is golden brown and flaky.
- Let cool for a few minutes before serving.
How to Know It’s Done
Timing is helpful, but your senses are better for these handheld pies.
Look for a deep golden-brown color on the tops and edges. Pale pastry means undercooked dough, and nobody wants a raw, doughy bite.
The bottom of the pies should be firm and golden, not soft or pale. If you’re not sure, carefully lift one with a spatula and check. A perfectly baked hand pie will have color on both top and bottom.
You’ll also start to smell butter and chicken about halfway through baking. When that smell intensifies and the kitchen smells like a pot pie exploded in the best way, you’re close. If you see any filling bubbling out of the vents, that’s actually a good sign. It means the filling is hot and the pies are cooking through.
Temperature-wise, the internal filling should hit around 165 degrees if you want to be precise, but honestly, if the crust is golden and firm, the filling is cooked. Let them rest for a few minutes after baking so the filling thickens back up. If you bite in too early, it’ll be soupy.
Tips from the Pros
Professional bakers and pastry chefs have a few tricks that make these hand pies go from good to ridiculous.
- Freeze before baking: Assemble the pies, then freeze them on the baking sheet for 15 minutes before brushing with egg and baking. This firms up the butter again and helps the pies hold their shape. You get sharper edges and flakier layers.
- Use parchment, not a greased pan: Parchment prevents sticking without adding extra fat that can make the bottoms greasy. It also makes cleanup a joke.
- Use Flaky Pie Crust instead of puff pastry for a classic crust experience.
- Let the filling cool completely: This can’t be stressed enough. Warm filling melts the dough and makes it impossible to seal properly. If you’re in a rush, spread the filling on a baking sheet and stick it in the fridge for 10 minutes.
- Crimp twice: Press the edges together with your fingers first, then go over them with a fork. The double seal is insurance against leaks.
- Egg Wash: Brushing a simple beaten egg wash over the top of your puff pastry before baking gives these hand pies a lovely shine. Simply beat an egg yolk with 1 teaspoon of water and brush over the top.
- Consider adding a diced celery stalk, sour cream, a splash of lemon juice or green peas to change up the flavor profile of your mini chicken pot pies.
These small moves separate home-cook hand pies from the ones that look like they came from a professional kitchen.
Serving Suggestions
These pocket pies are a full meal on their own, but they shine even brighter with a few simple sides.
Serve them with a light green salad dressed in a tangy vinaigrette. The acidity cuts through the richness of the pastry and filling. Arugula, spinach, or mixed greens all work. Add some thinly sliced radishes or cucumbers for crunch.
A cup of tomato soup on the side turns this into the ultimate comfort meal. The acidity of the tomatoes balances the buttery crust, and you can even dip the pies if you’re feeling bold.
For something heartier, roasted or mashed potatoes work surprisingly well. Yes, it’s carbs on carbs, but it’s also deeply satisfying and perfect for a cold night.
If you’re serving these at a party, put them on a platter with a small bowl of gravy for dipping. People go wild for it. You can also serve them with cranberry sauce for a Thanksgiving-adjacent vibe that’s unexpectedly great.
Though we do love this hand held version, if you’re looking for a more classic chicken pot pie person, try this Chicken Pot Pie with Corn version.
If you like unique recipes try this Chicken Pot Pie Stuffed Biscuits or Healthy Chicken Pot Pie Recipe.
Variations and Swaps
This recipe is a solid base, but it’s also incredibly flexible. You can take it in a dozen different directions and still end up with something delicious.
- Turkey pot pie hand pies: Swap the chicken for leftover roasted turkey. This is a genius move the day after Thanksgiving. Use the same filling base and add a little fresh sage for a holiday twist.
- Vegetarian version: Skip the chicken entirely and load up on vegetables. Mushrooms, potatoes, leeks, and peas make a deeply savory filling. Add a splash of soy sauce or miso for umami.
- Spicy twist: Stir in diced jalapeños or a pinch of cayenne to the filling. A little heat plays really well with the creamy gravy.
- Herb swap: Trade thyme for rosemary, sage, or tarragon. Each one shifts the flavor profile slightly. Tarragon is especially good if you want something a little more French.
- Cheese boost: Stir in a handful of shredded cheddar or Gruyere to the filling right before it cools. The cheese melts into the gravy and adds a whole new layer of richness.
- Different pastry: If you’re short on time, store-bought puff pastry works. It won’t be quite as sturdy, but it’ll be flaky and buttery. Just thaw it, cut circles, and fill as directed.
No matter how you tweak it, the formula stays the same: thick filling, cold dough, high heat, and a good seal.

If you like hand held food, try these recipes:
- Easy Breakfast Empanadas Recipe
- Egg and Cheese Empanadas
- Ham and Cheese Empanada Recipe
- Apple Pie Empanadas
- Bacon Egg and Cheese Empanadas
- Pizza Empanadas
- Sweet Potato Empanadas Recipe
- Beef Empanadas Recipe
Additional Chicken Recipes You’ll Love…

Storage Tips
These hand pies keep well, which makes them perfect for meal prep or batch cooking.
Store baked pies in an airtight container in the fridge for up to 4 days. Let them cool completely before storing, or condensation will make the crust soggy.
To reheat, skip the microwave. It turns the pastry soft and sad. Instead, pop them in a 350-degree oven for 10 to 12 minutes until warmed through and crispy again. You can also use a toaster oven if you’re reheating just one or two.
For longer storage, freeze the baked pies. Let them cool, then wrap each one individually in plastic wrap and place them in a freezer bag. They’ll keep for up to 3 months. Reheat from frozen at 375 degrees for 20 to 25 minutes.
You can also freeze unbaked pies. Assemble them, skip the egg wash, and freeze on a baking sheet until solid. Then transfer to a freezer bag. When you’re ready to bake, brush with egg wash and bake straight from frozen, adding 5 to 10 minutes to the bake time.
Freezing unbaked pies is actually the pro move. You get fresh-baked hand pies anytime you want them without doing all the work from scratch.

Whether you’re serving them for dinner, packing them for lunch, or setting them out for game day gatherings, these flaky little pies are guaranteed to be a hit.
The creamy filling, tender chicken, and buttery pastry come together to create the kind of comfort food everyone reaches for again and again.
Plus, they’re the perfect thing to make ahead and reheat whenever you need an easy meal or snack.
Once you try this great recipe, Chicken Pot Pie Hand Pies are sure to become a family favorite!

Easy Chicken Pot Pie Hand Pies
Flaky, golden, and filled with creamy comfort, these Chicken Pot Pie Hand Pies are a fun twist on the classic family favorite.
Ingredients
- 1/2 cup onions, diced
- 2 garlic cloves, minced
- 1/2 cup green beans steamed but still crisp, chopped into 1" pieces
- 1/2 cup carrots, diced
- 1/2 baked potato, cut into 1/2 inch cubes
- 1 cup cooked chicken, cut into 1/2 inch cubes (Rotisserie works great!)
- 1 can 10.5 ounce can cream of mushroom soup
- 1 soup can of milk , fill cream of mushroom can with milk
- 2 Tablespoons water , or chicken broth
- 4 sheets of frozen puff pastry, thawed
Instructions
- Preheat your oven to 400°F. Line a baking sheet with parchment paper.
- In a large skillet over medium heat, add butter.
- Cook the diced onion for 3–4 minutes until softened.
- Add the garlic and cook for another 30 seconds.
- Stir in the carrots and cook for 3–4 minutes until slightly tender.
- Add the green beans, baked potato pieces, and cooked chicken.
- Pour in the cream of mushroom soup, milk, and water. Stir everything together until well combined.
- Simmer for 5–7 minutes, stirring occasionally, until the filling thickens slightly. Remove from heat and let cool for 10–15 minutes.
- Unfold the thawed puff pastry sheets on a lightly floured surface. Cut each buttery puff pastry sheet into 4 equal squares for a total of 16 hand pies.
- Spoon about 2–3 tablespoons of chicken pot pie filling into the center of each square. Avoid overfilling.
- Fold each square diagonally to form a triangle or fold in half into a rectangle. Press the edge of the dough together with a fork to seal.
- Place the hand pies on a prepared baking sheet. Cut a small slit in the top of each pie with a sharp knife to allow steam to escape.
- Bake in preheated oven for 18–22 minutes, or until the puff pastry is golden brown and flaky.
- Let cool for a few minutes before serving.
Nutrition Information:
Yield: 16 Serving Size: 8Amount Per Serving: Calories: 557Total Fat: 32gSaturated Fat: 6gUnsaturated Fat: 26gCholesterol: 47mgSodium: 1063mgCarbohydrates: 49gFiber: 4gSugar: 4gProtein: 19g
Photos & Text Updated: May 9, 2026
sarah
Saturday 12th of November 2016
is there a link somewhere with directions?
Michelle Nahom
Saturday 12th of November 2016
I'm so sorry, something happened with the directions when I switched recipe plugins. :( I'm going to have to re-do this recipe. My sincere apologies.
Kelly F
Monday 5th of September 2016
I'm eager to try this recipe... but it seems to be missing vital information, as in, the directions. The ingredients list is great, but what do I do with all of that? I see cook time for 30 minutes... at what temperature?
Michelle Nahom
Monday 5th of September 2016
Oh no! I'm not sure what happened there. I must have lost that info when I switched recipe card plugins. Of course that doesn't help you. I'm going to have to re-create the directions. Thank you for pointing that out...I didn't know that that had happened. My apologies! Hopefully I can get that fixed this week. I'm so sorry.
Emily
Saturday 29th of November 2014
looks great! I think those look so tasty!!
Michelle Nahom
Monday 1st of December 2014
They were really good! The kids love them!
Jennifer
Thursday 27th of November 2014
You spoke my love language... freezer meal.
These look fabulous and now I want one of those vacuum sealers! So awesome... I could have fun with that!
Congrats to your daughter for placing eighth! xoxo
Michelle
Wednesday 26th of November 2014
These are perfect portion control I love smaller sized food because I am too weak in front of delicious food. I really want a vacuum sealer!
Michelle Nahom
Monday 1st of December 2014
I hope you get one! They are so handy to have!